


")

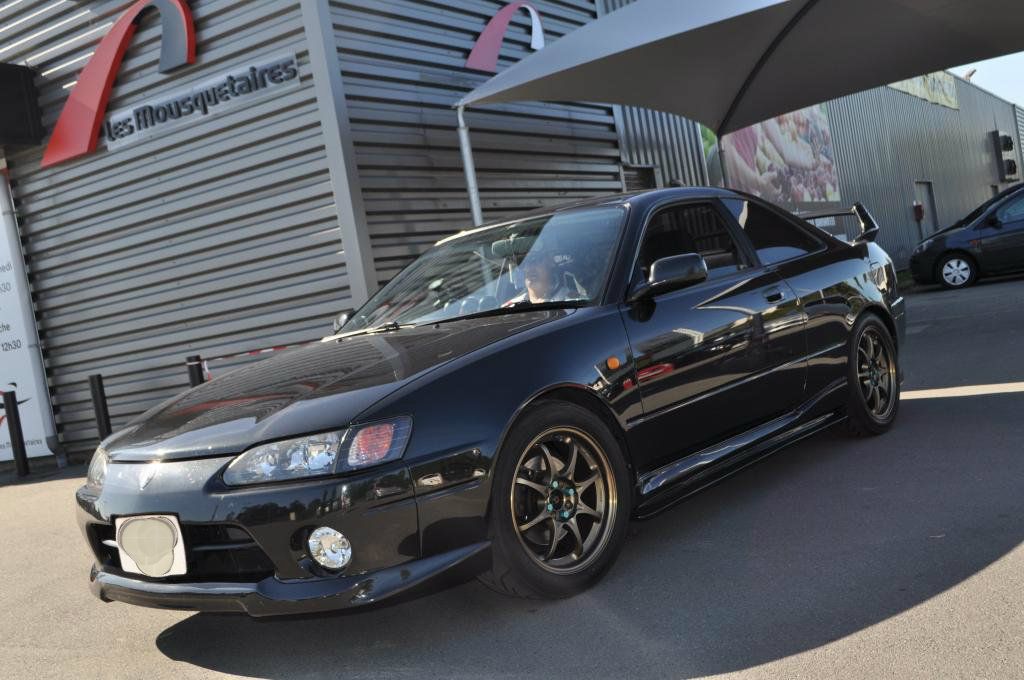
I thought I’d post up some pics of what I’m upto.
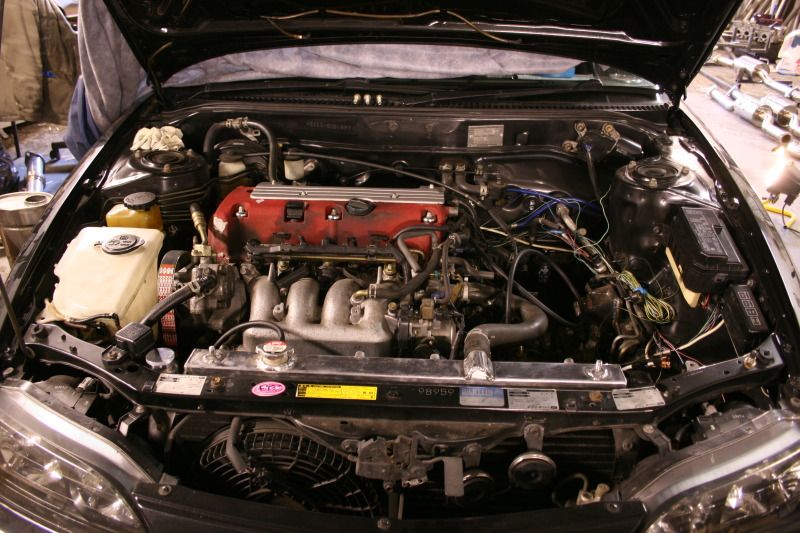
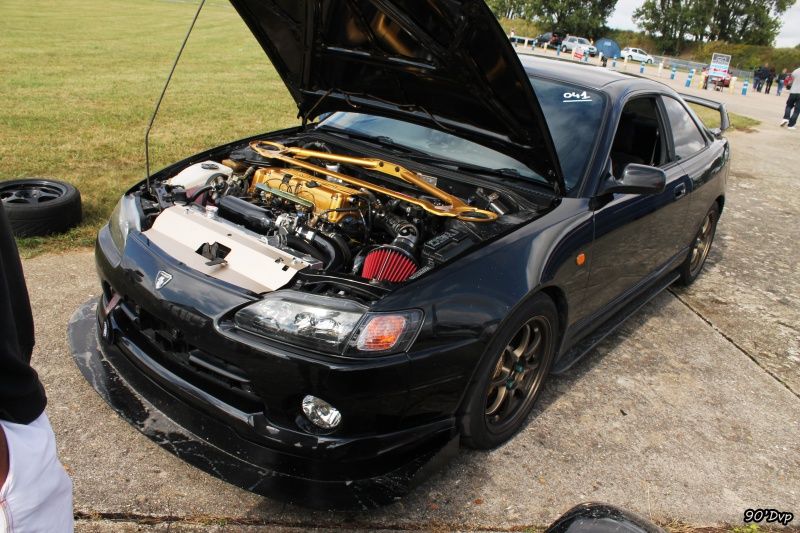
The car is a Toyota trueno ae111 with a 4AGE 20v. its an awesome car, but it lacks power without pouring £££££’s to build a hasselgren type engine. So I opted for an engine swap.
Here’s some pics to show my progress.
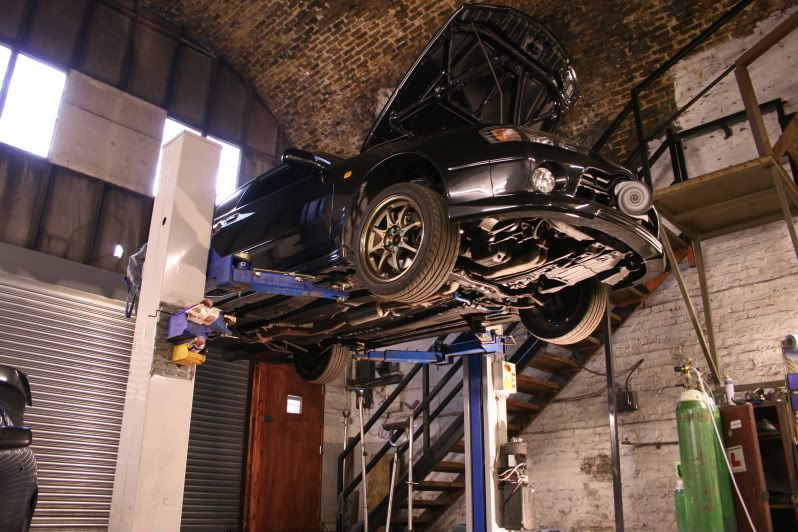
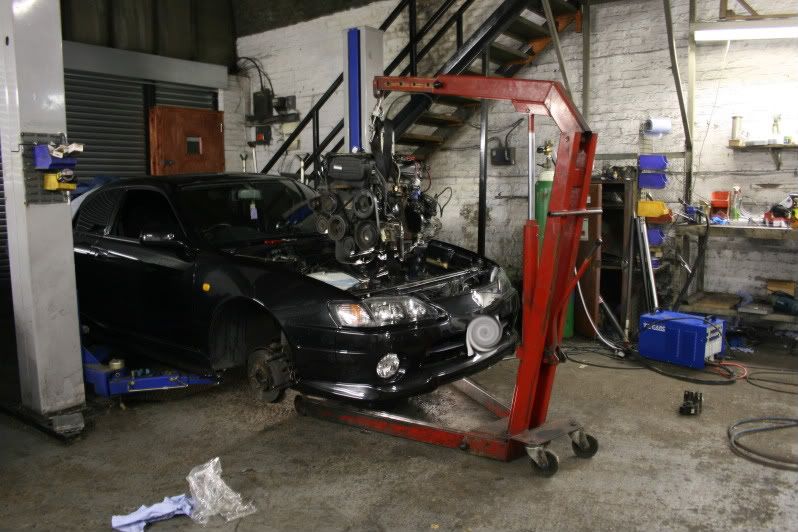
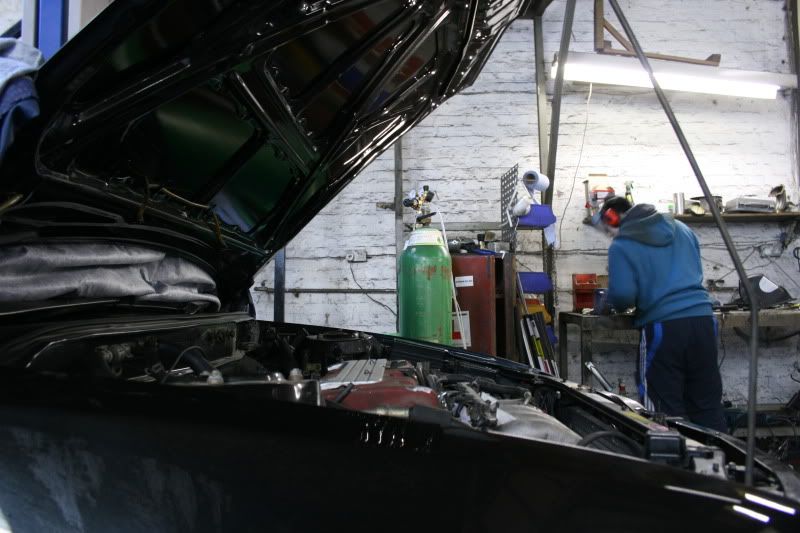
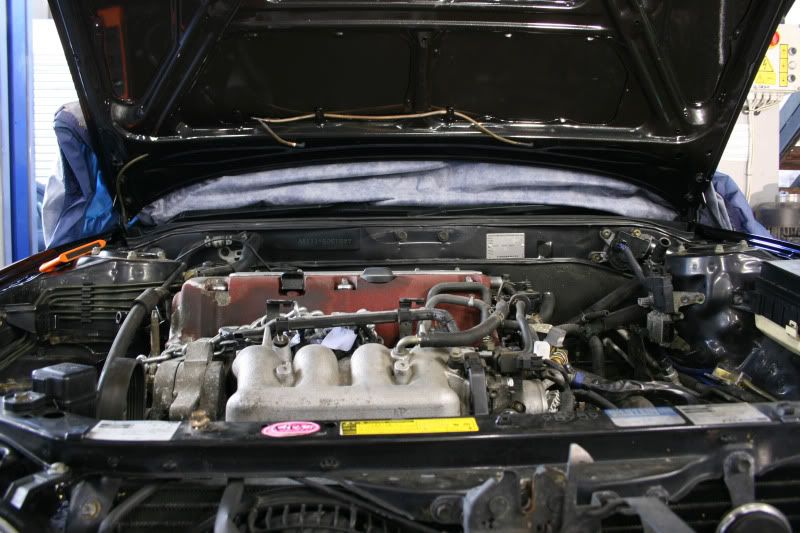
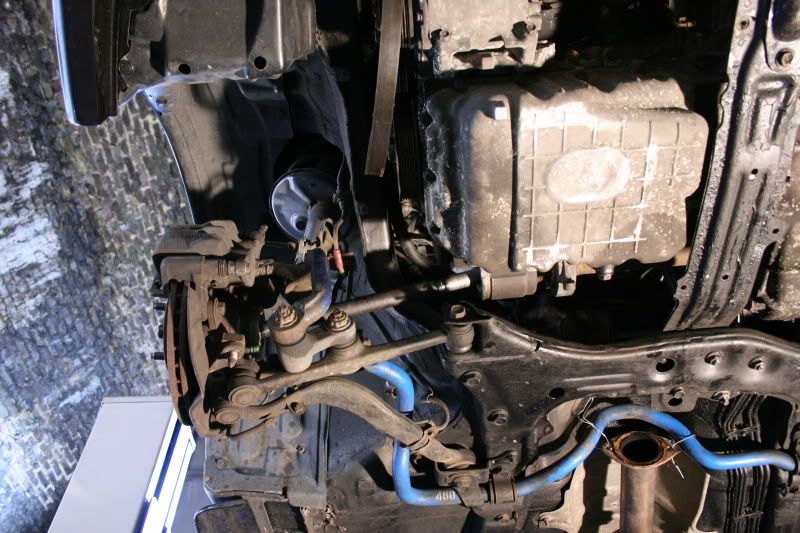
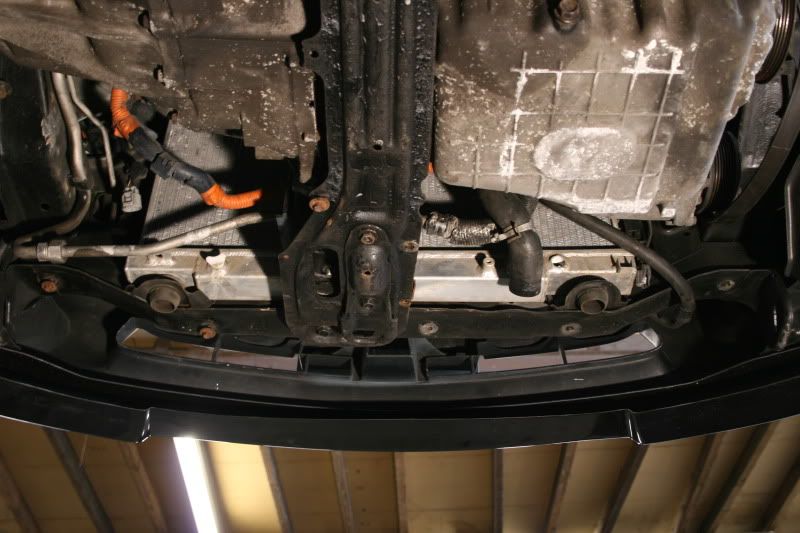
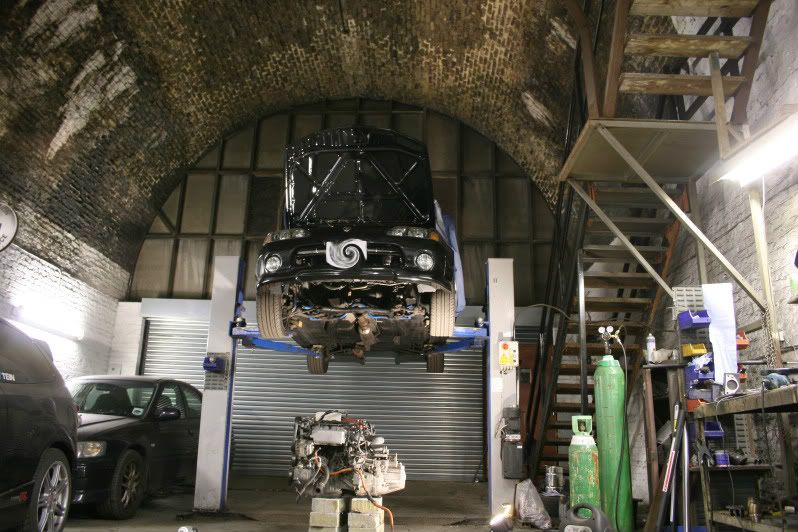
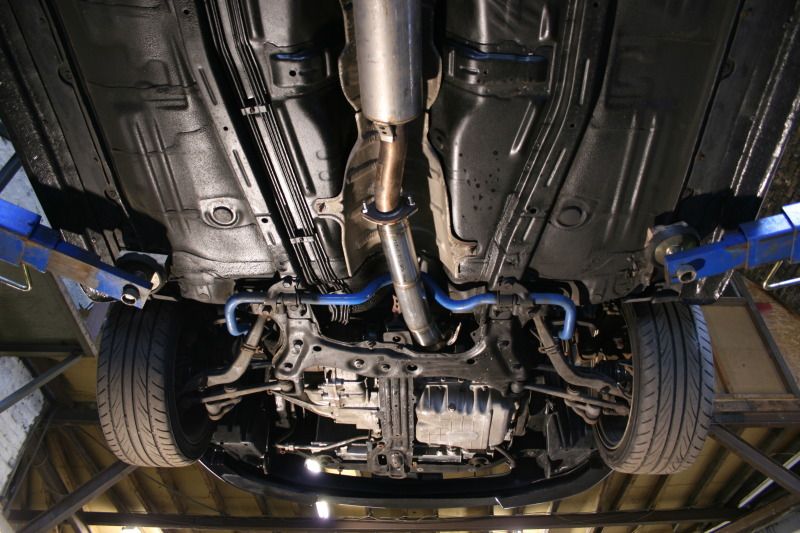
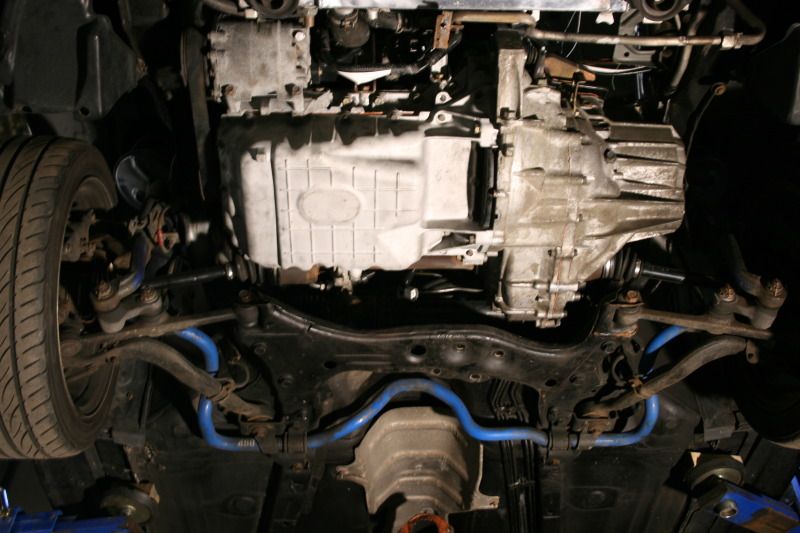
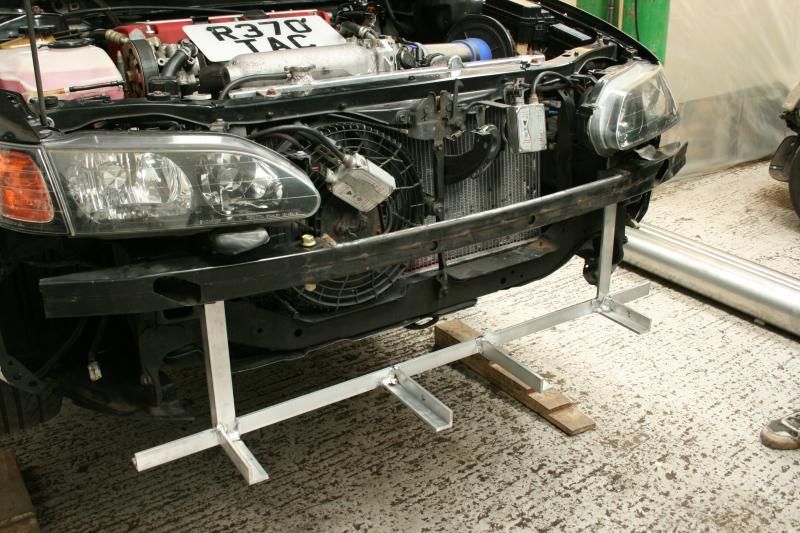
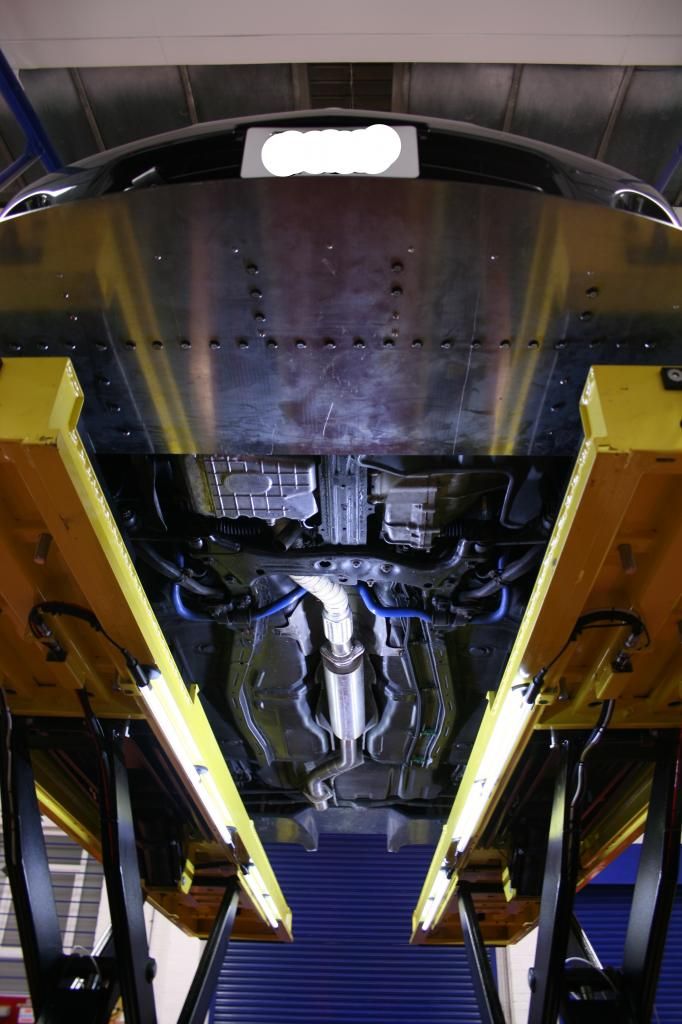
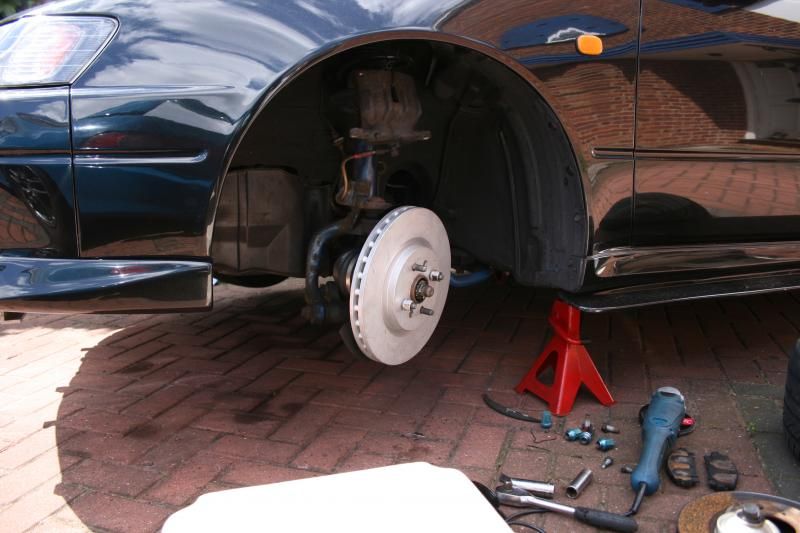
Usual pic of car up on ramp, ready for a heart transplant.
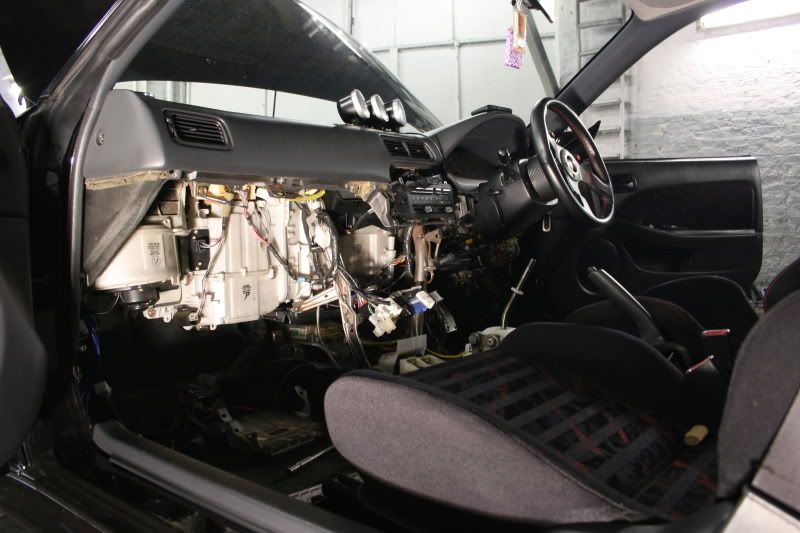
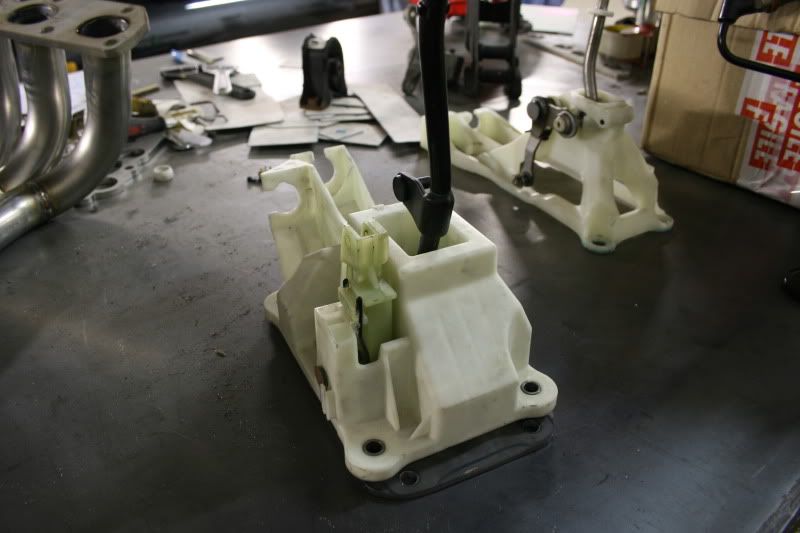
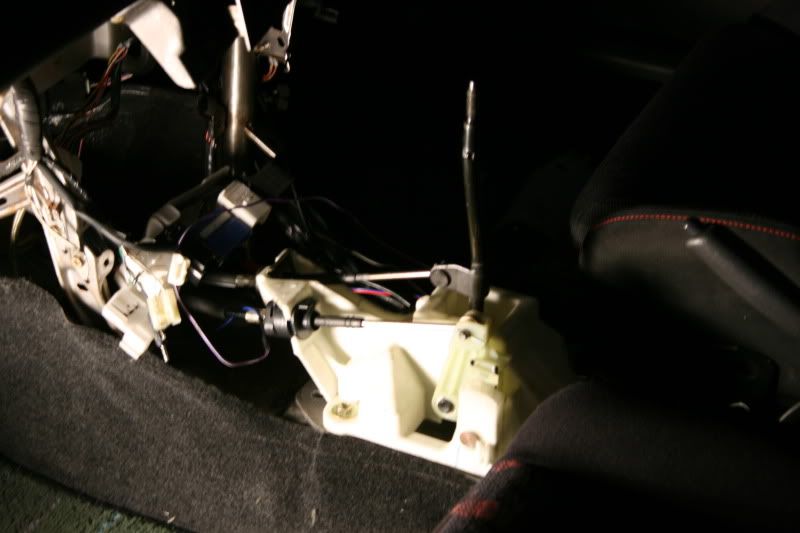
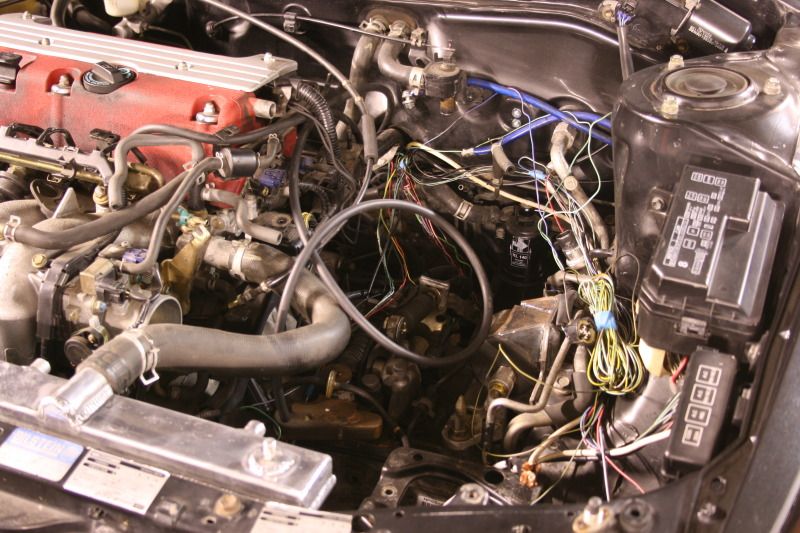
Centre console removed for ecu and shifter removal.
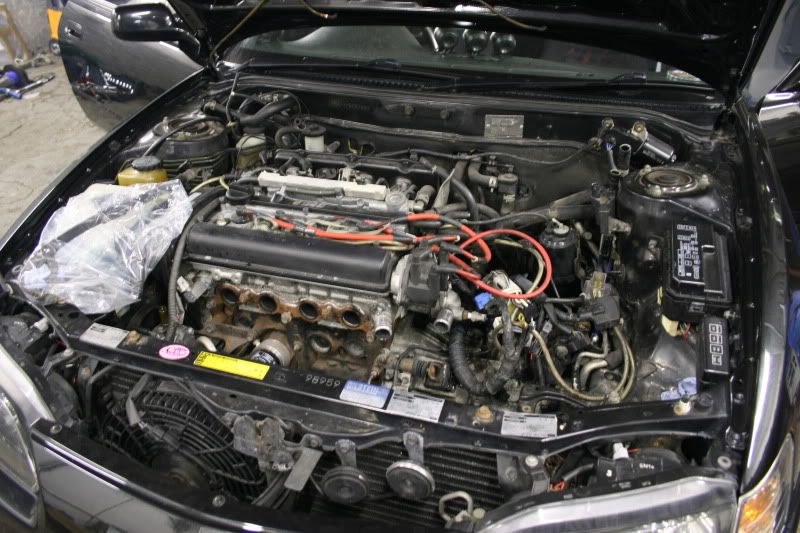
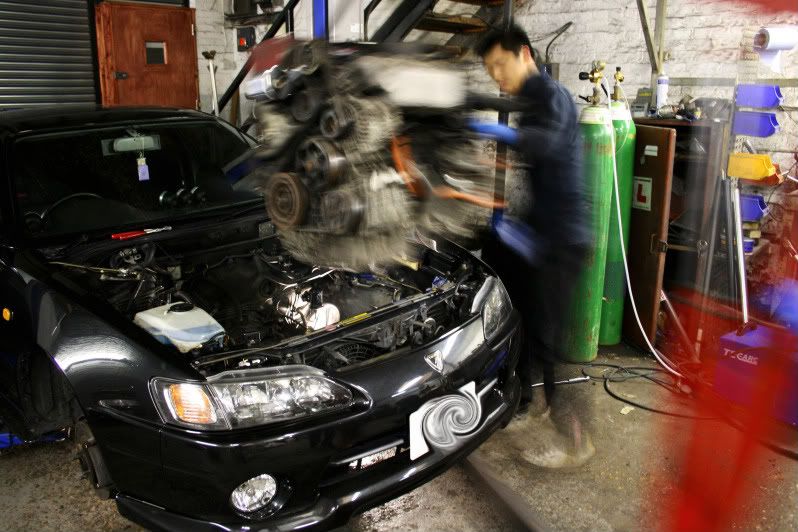
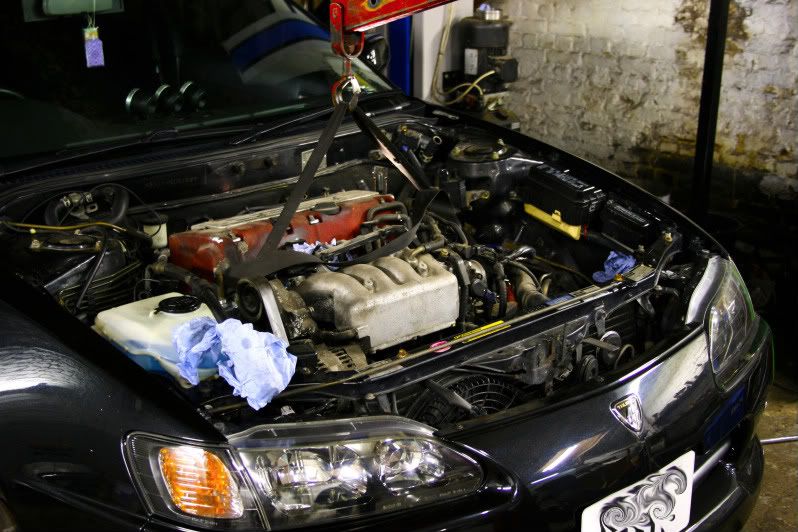
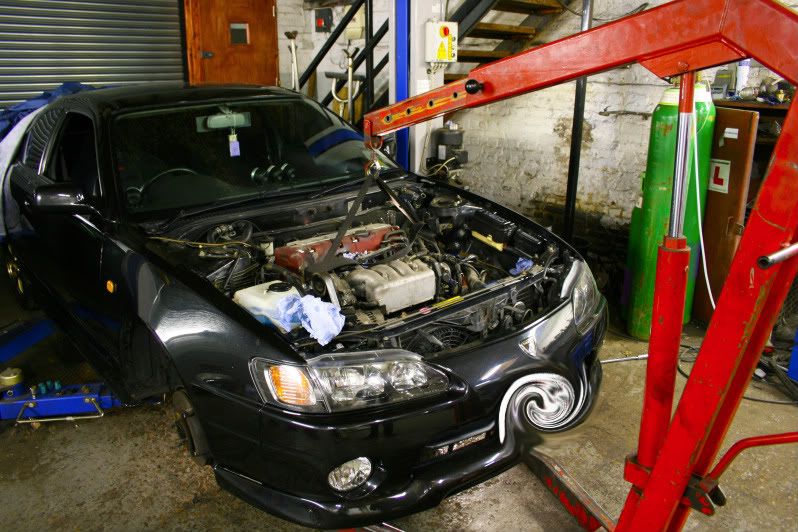
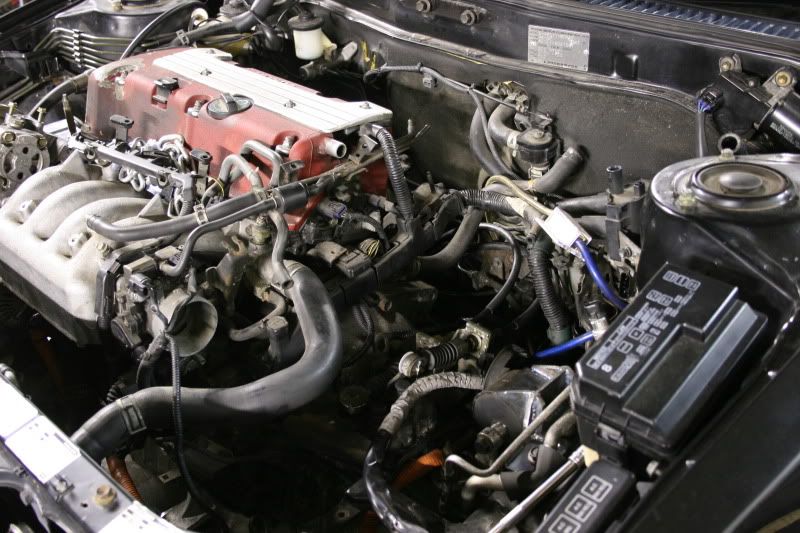
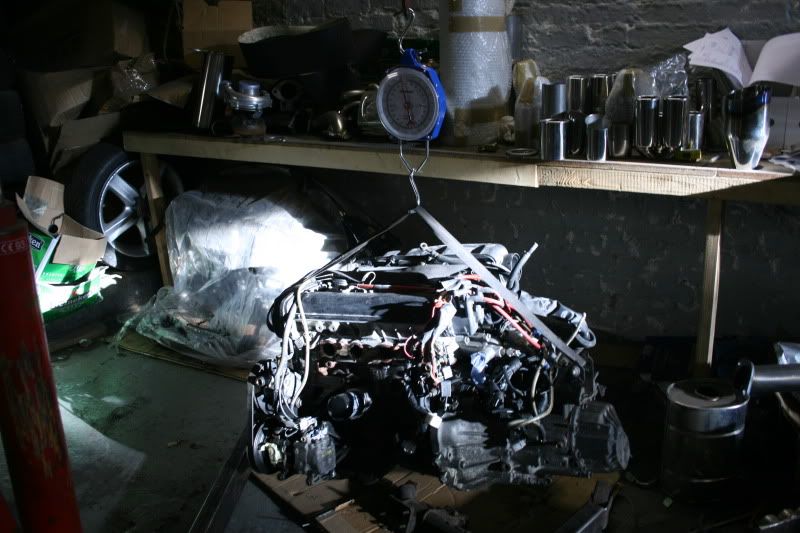
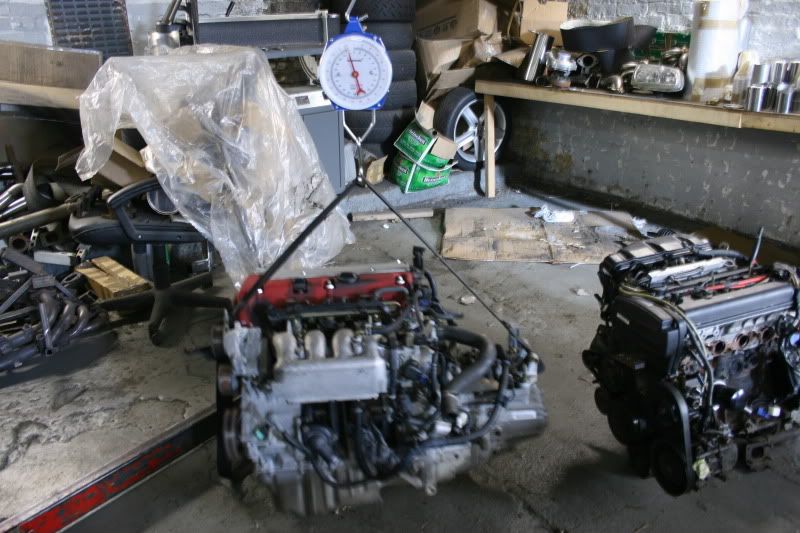
Heart coming out. Farewell 4age. You did your job well.
out it comes. Still beating…….
Here’s a pic of me lifting the new engine with my left arm whilst moving at superman speeds to get the engine in. ☺
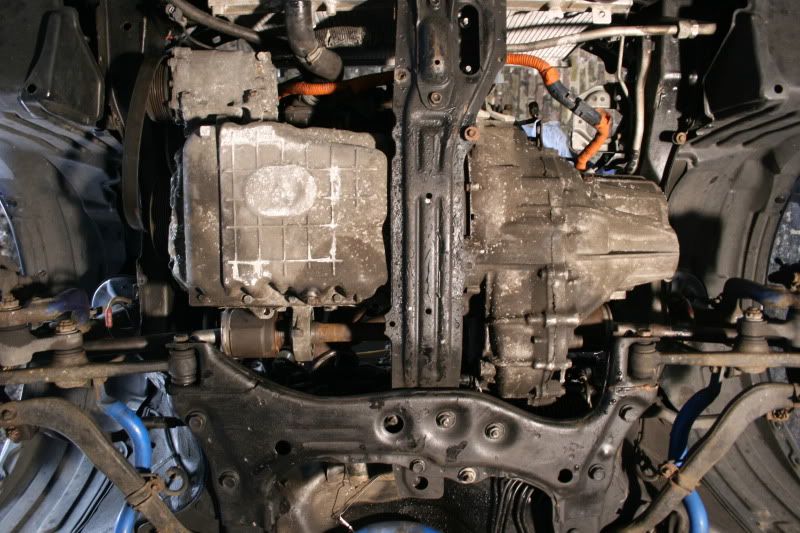
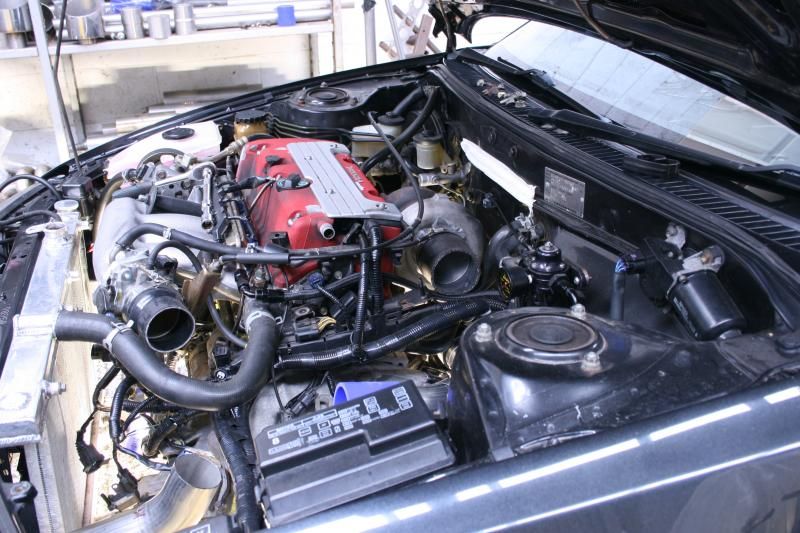
so, now with the engine ‘in’. it was time to get the engine to sit where I wanted it.
The criteria was:
• Sit the engine as far back as possible to reduce weight over the front of the nose.
• Sit the engine as low as possible in the bay to lower the centre of gravity.
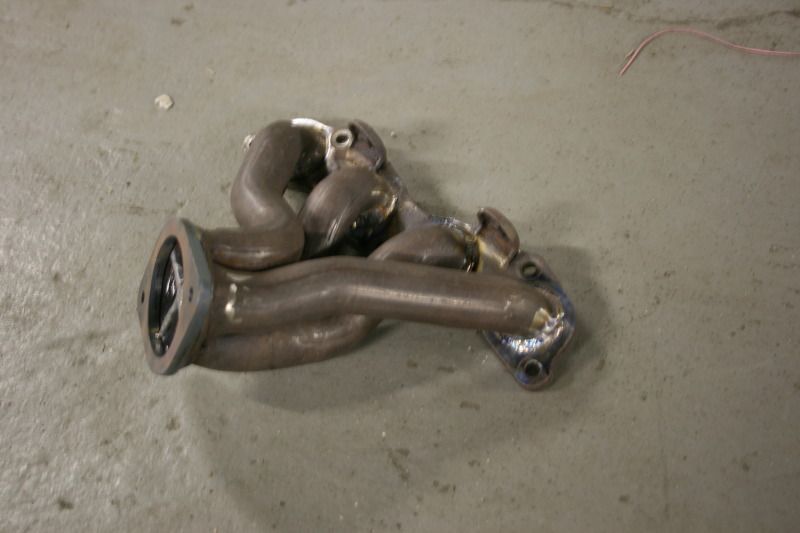
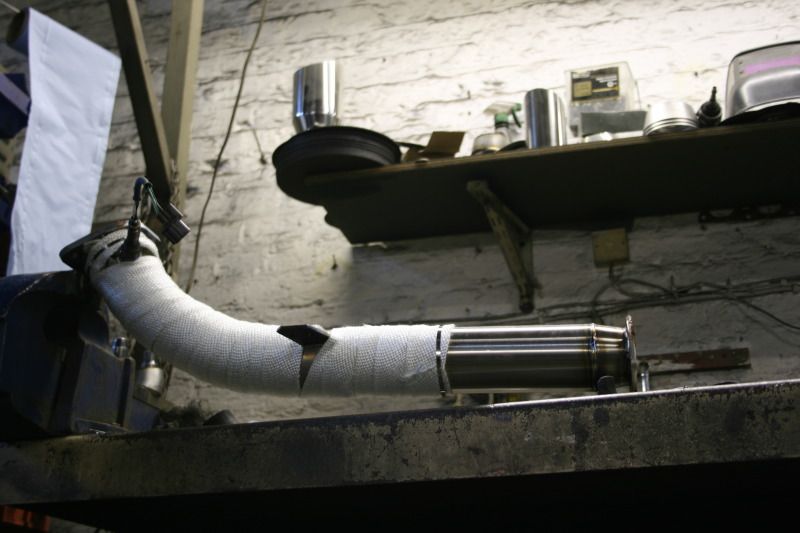
• Give enough room at the back for the exhaust manifold.
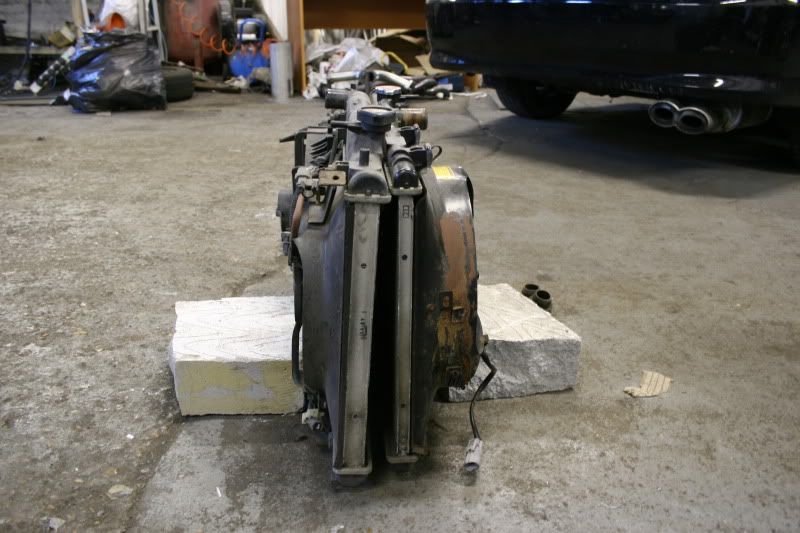
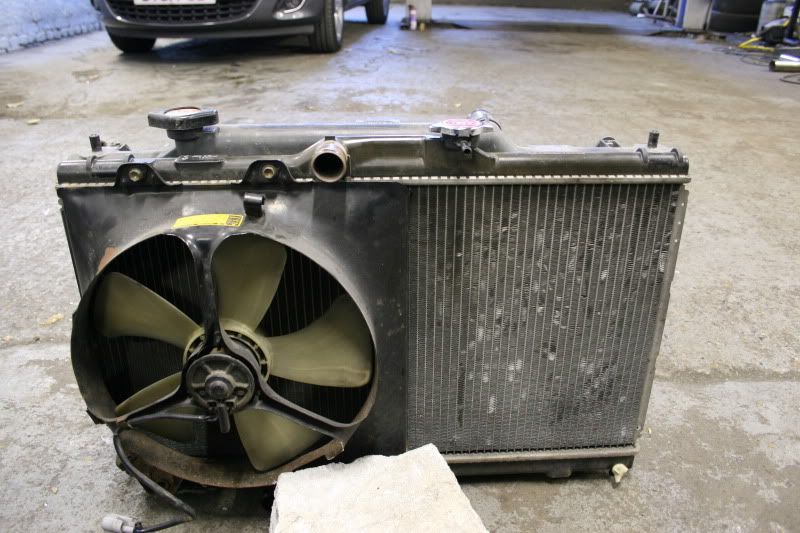
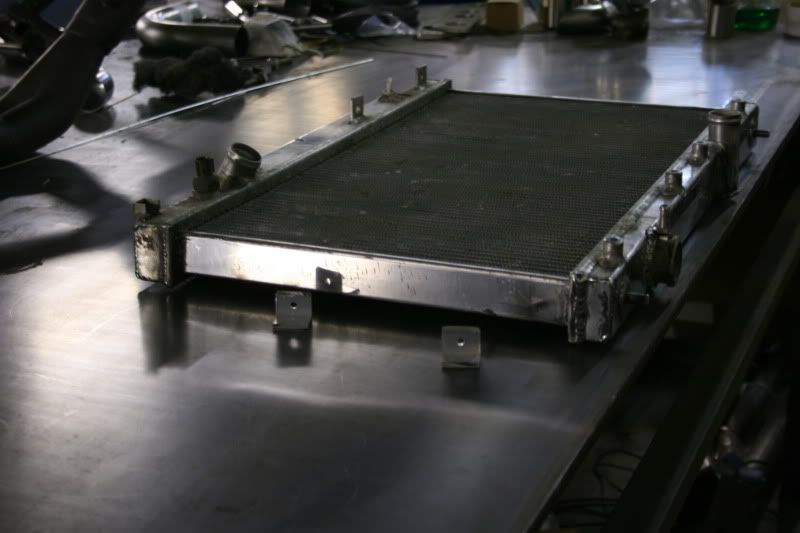
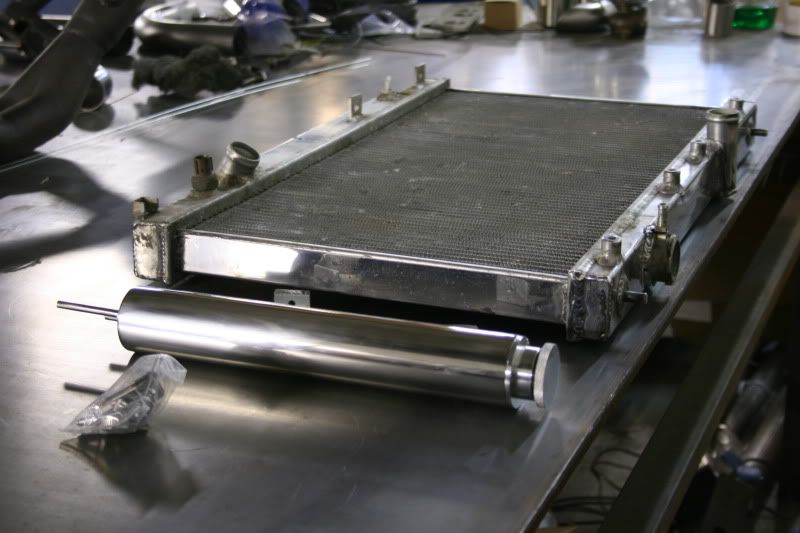
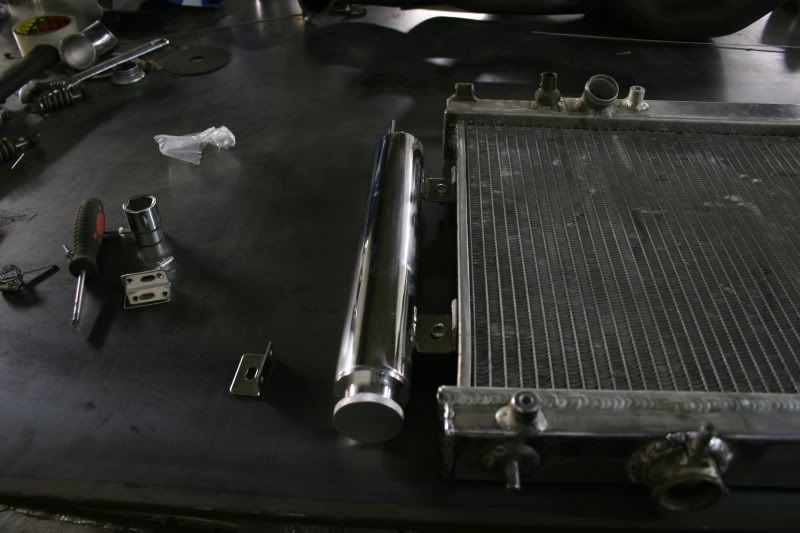
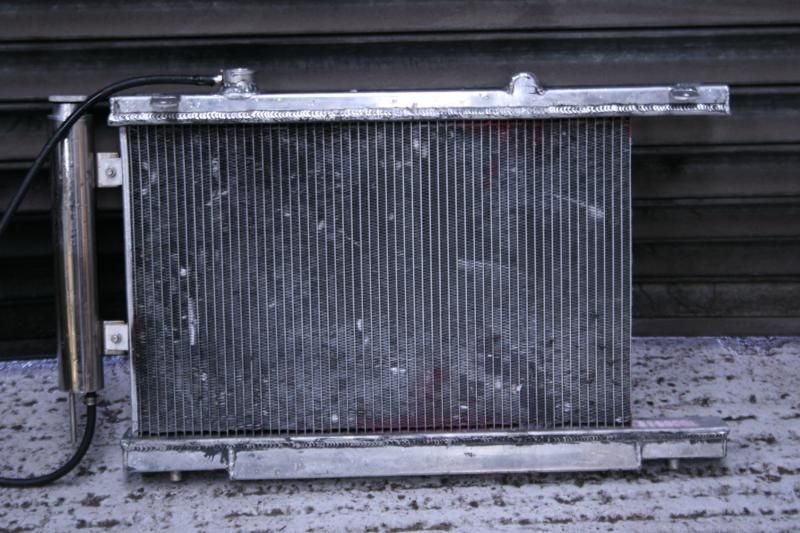
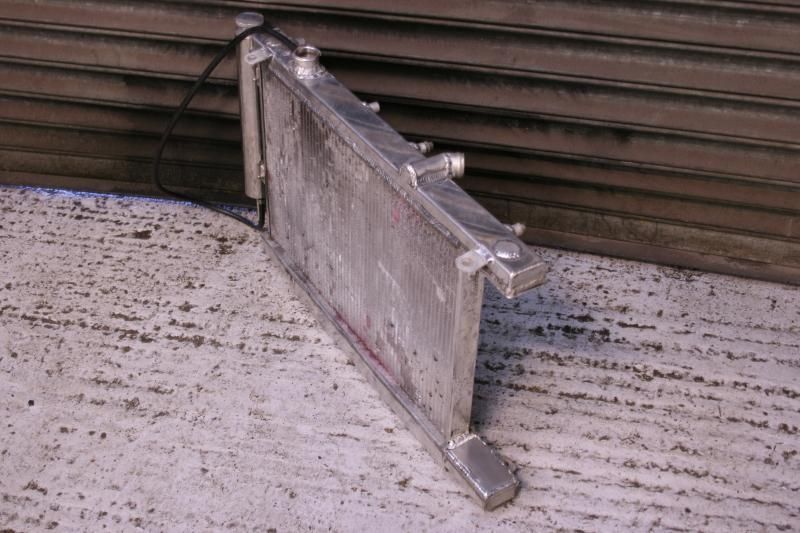
• Give enough room at the front for the radiator.
• Sit the engine equidistance from left to right so changing g/boxes and aux belts are simple.
With that criteria met, or so I thought, after 2 hours of jigging it into place. It turns out the engine sat too high for my liking. I wanted it lower. So the first chassis mod took place.
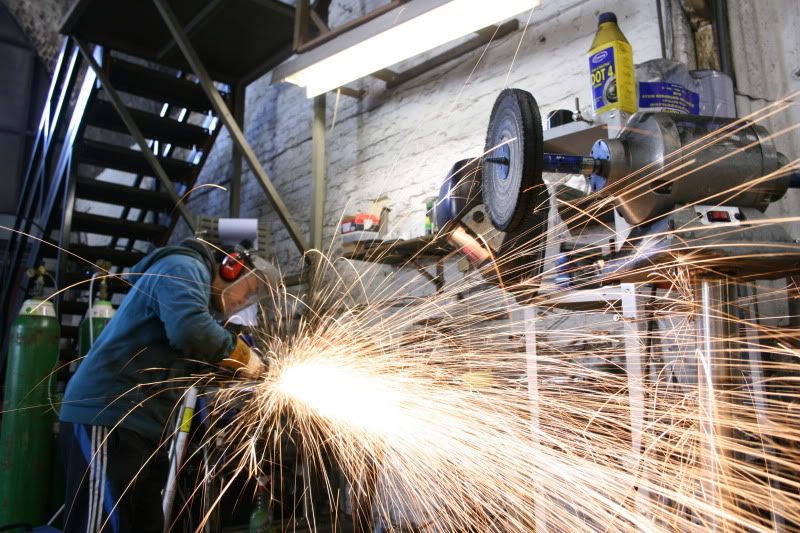
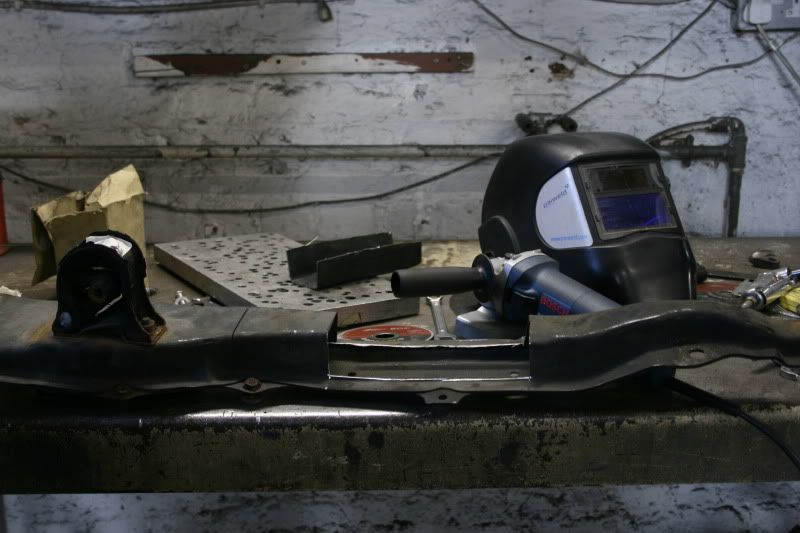
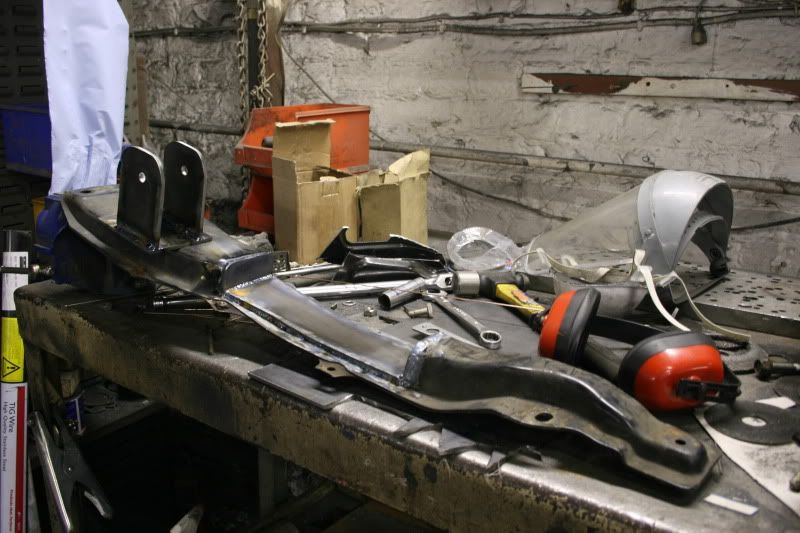
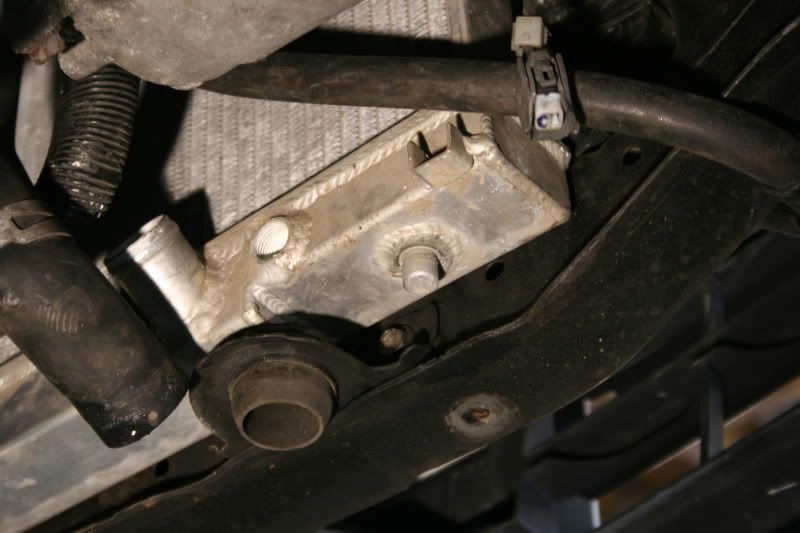
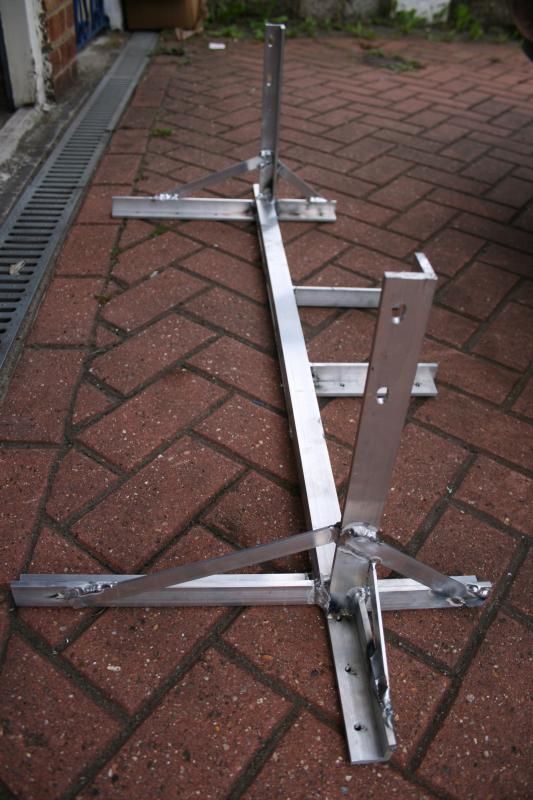
Take 1 stock subframe brace.
add sparks.
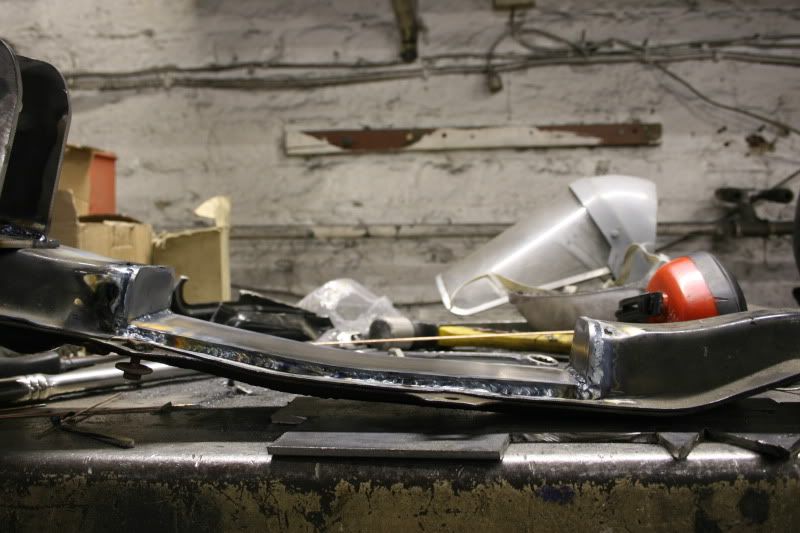
add 5mm sheet metal for bracing
and voila!!
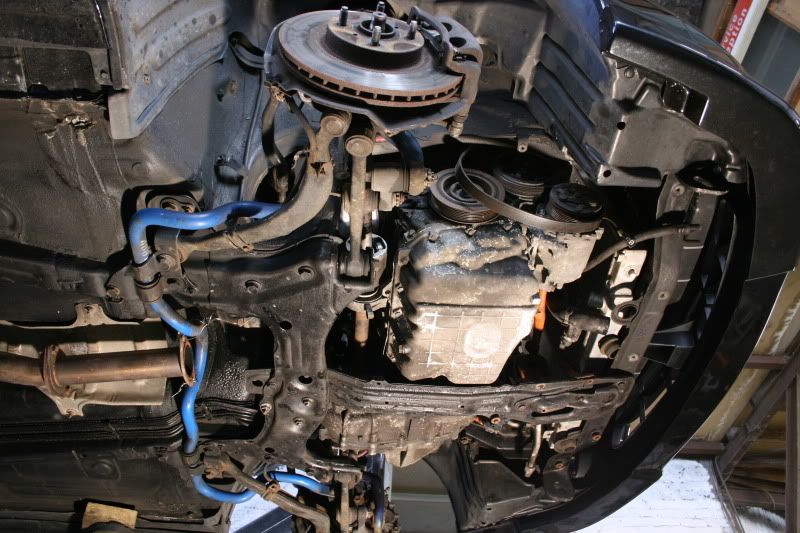
now with the lower brace bolted back into place, it was time to reposition the engine again.
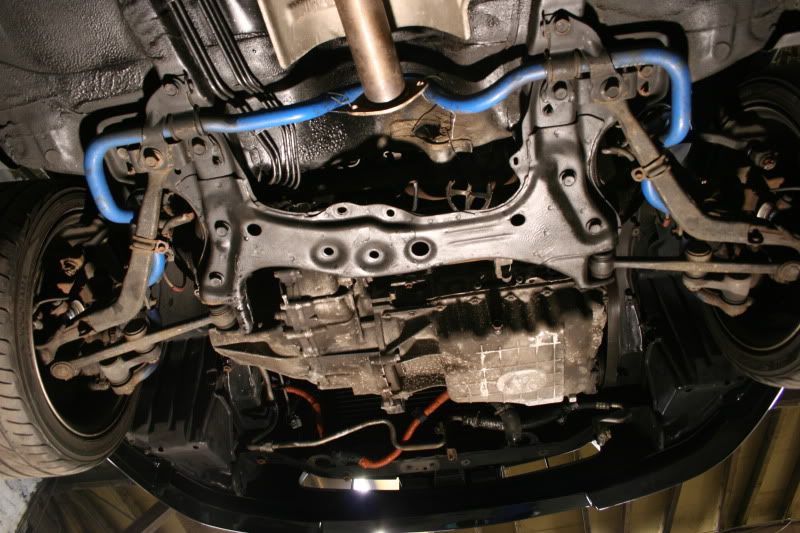
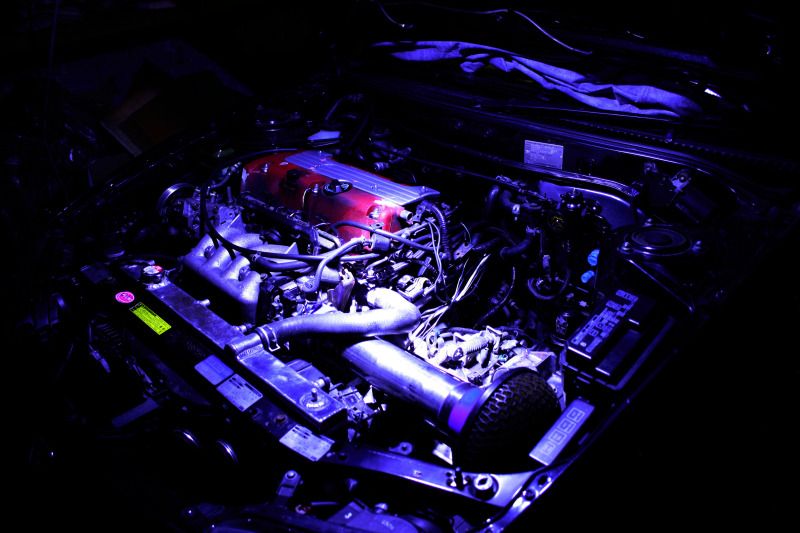
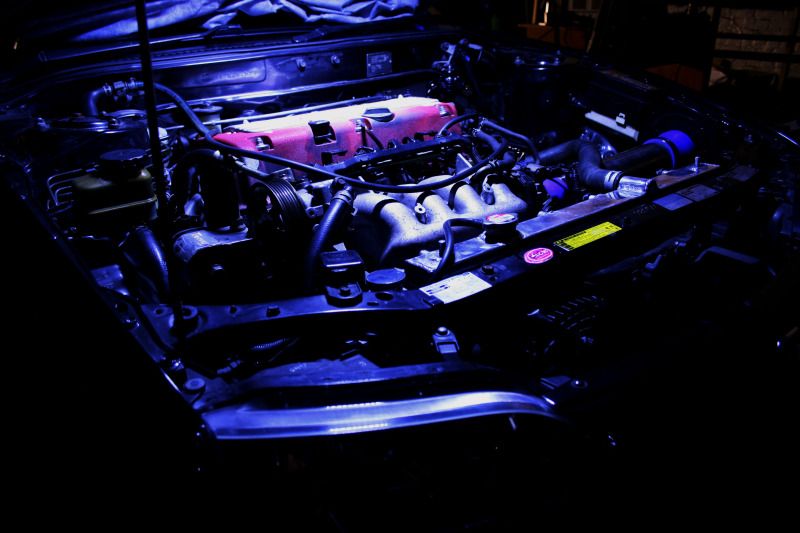
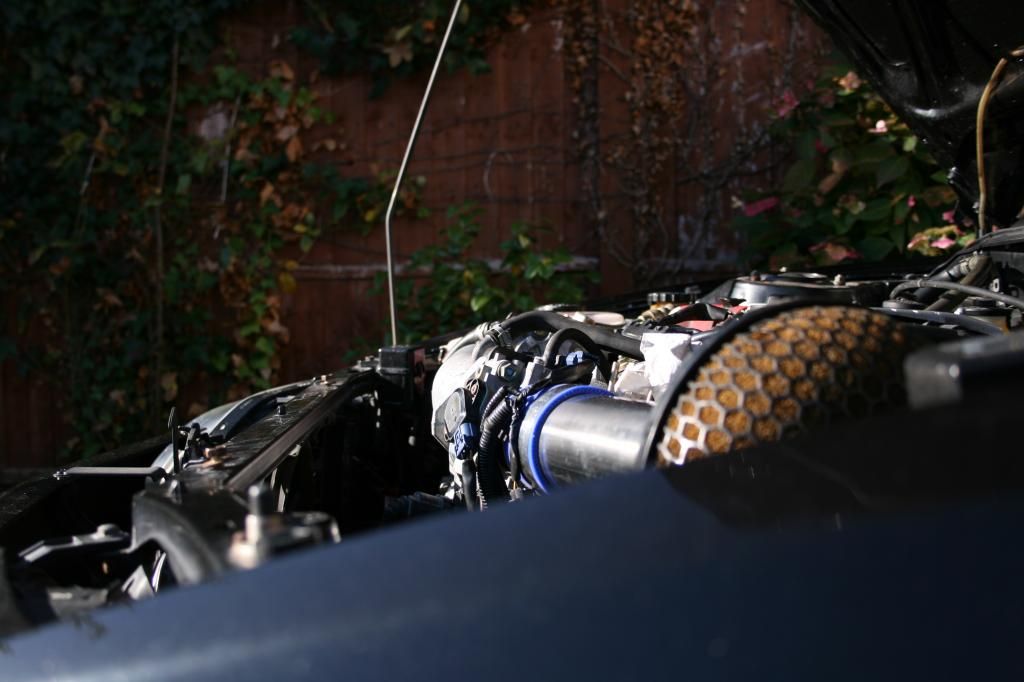
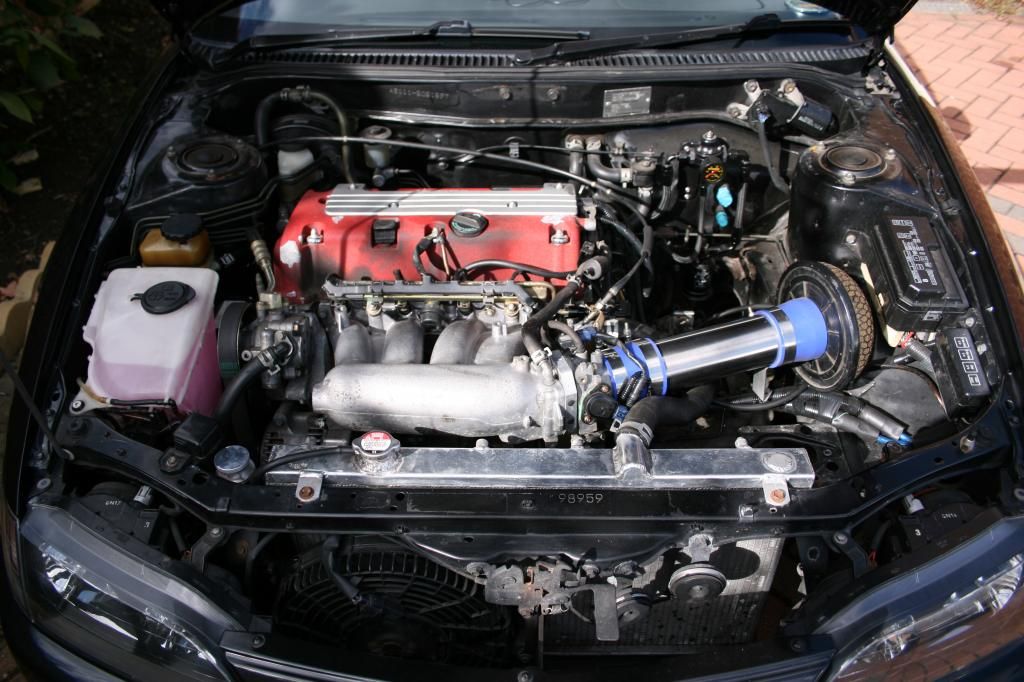
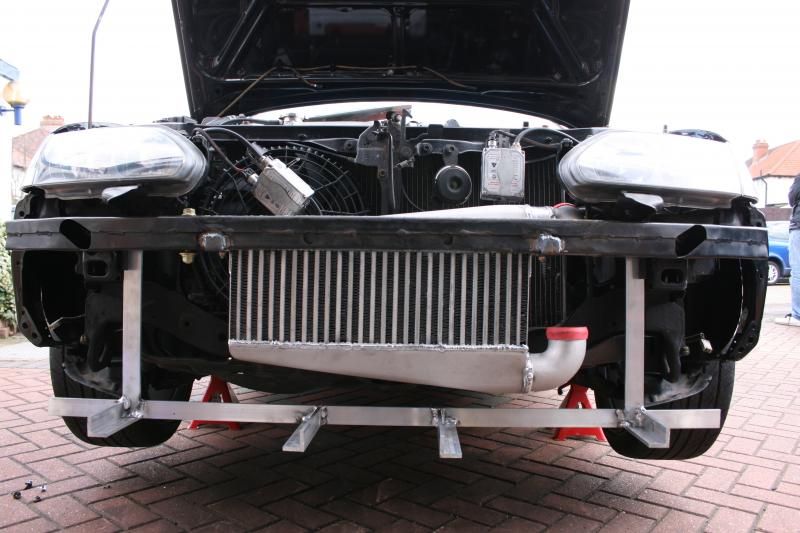
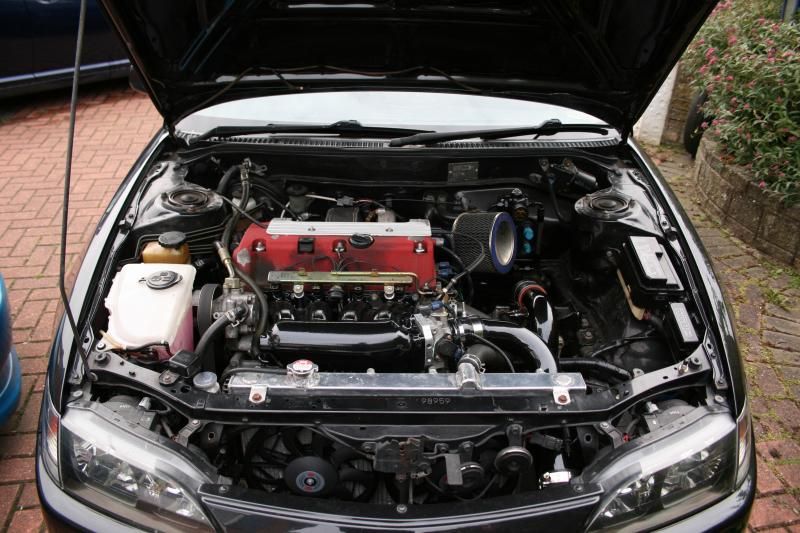
Here’s the outcome.
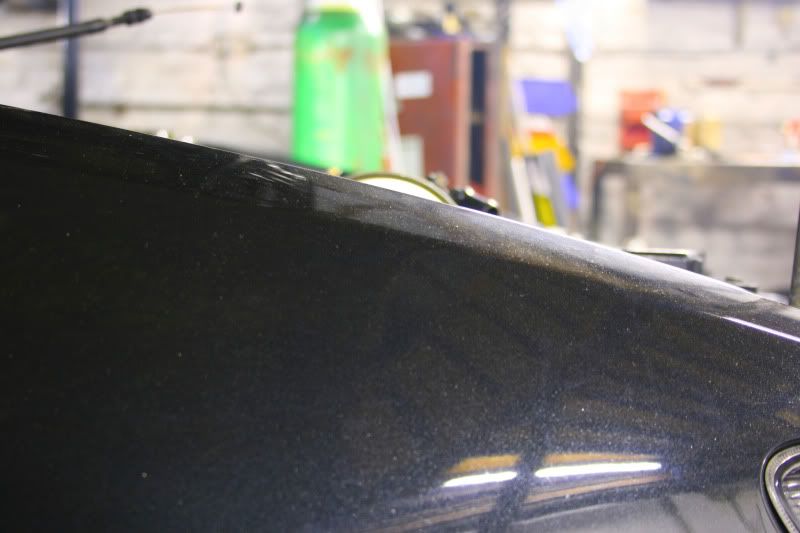
Much lower than the bonnet line.
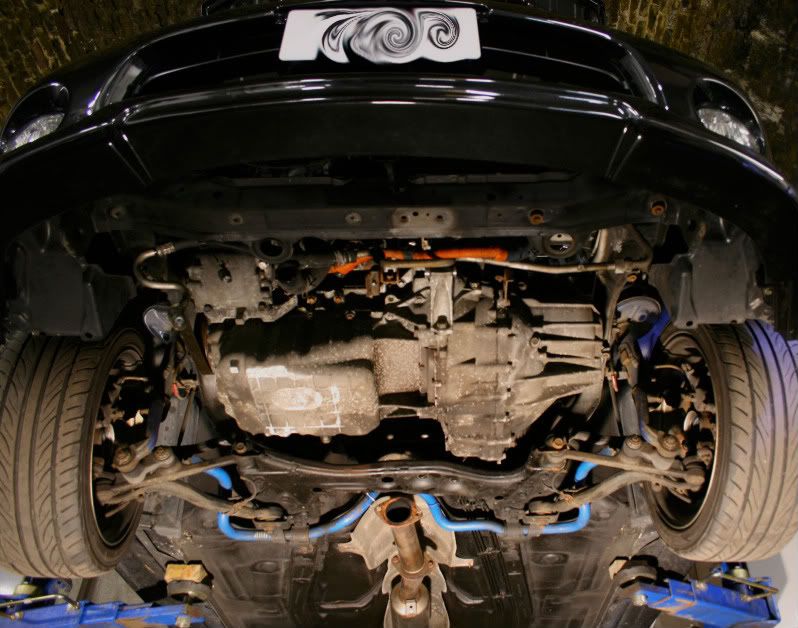
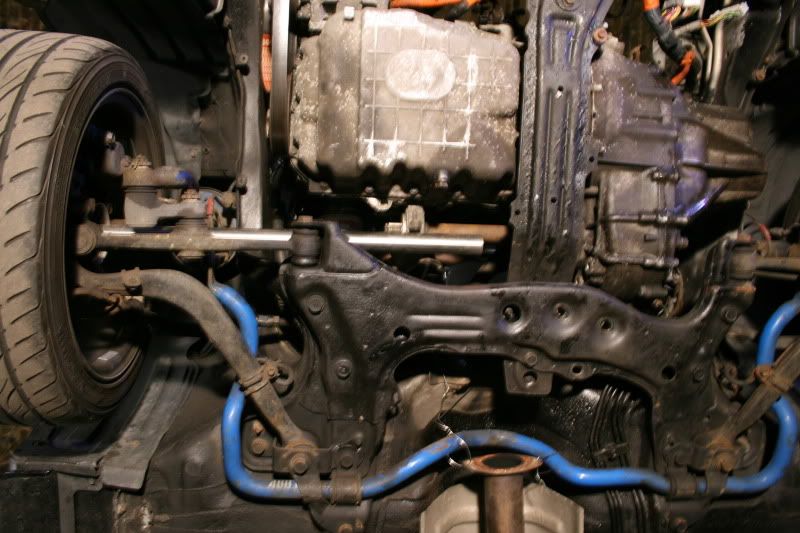
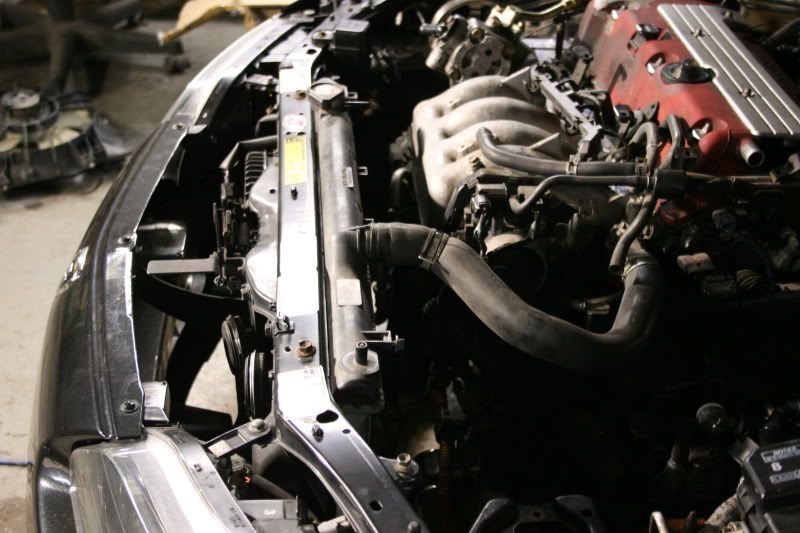
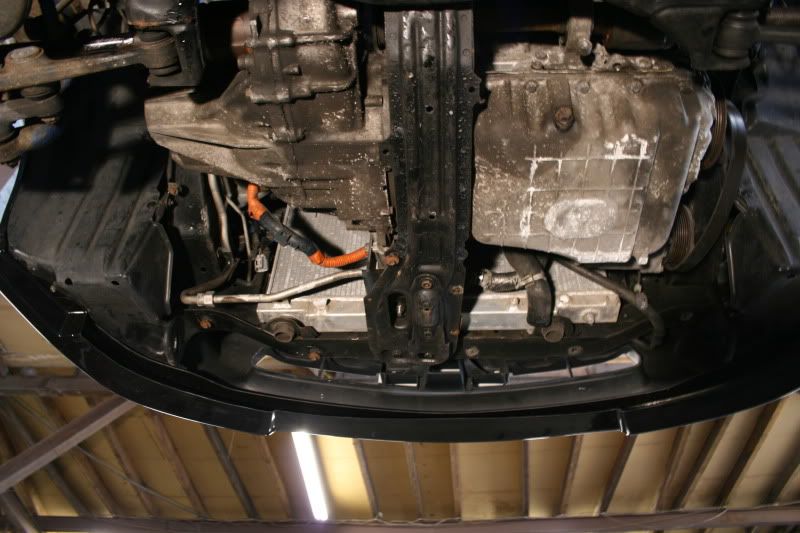
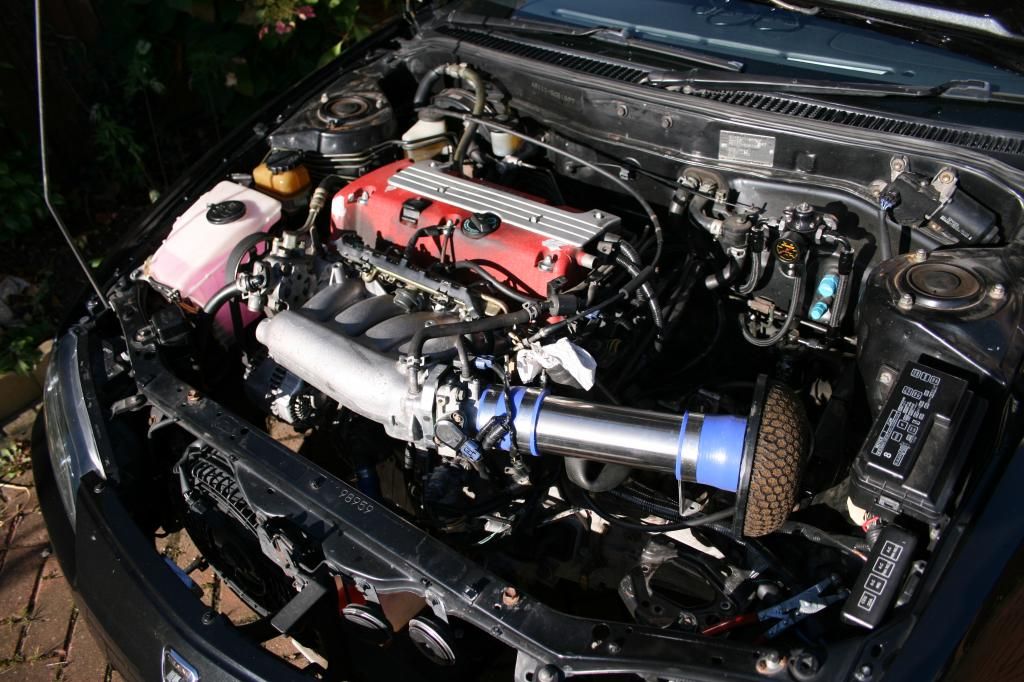
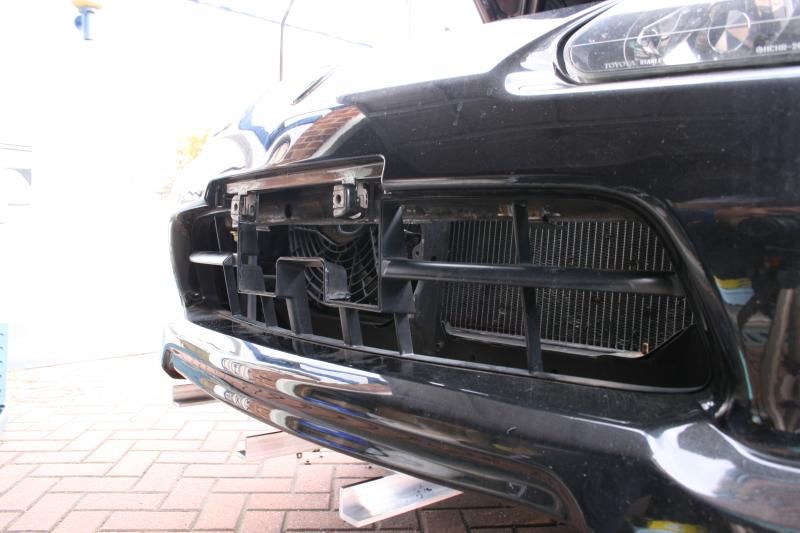
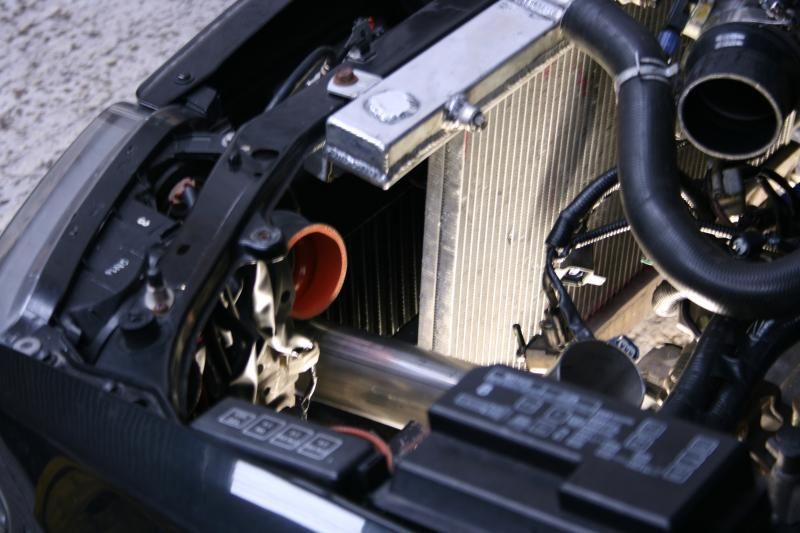
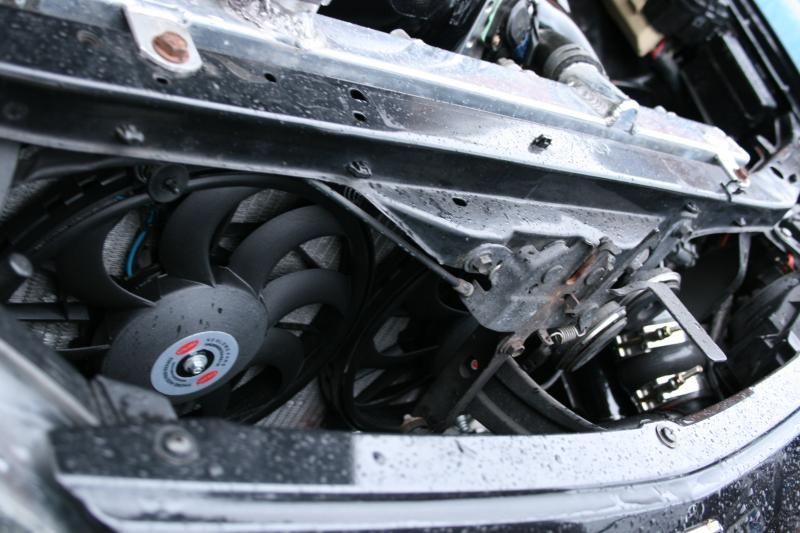
and here’s a frontal shot of where it will live.
engine level with the chassis. Perfect placement!!
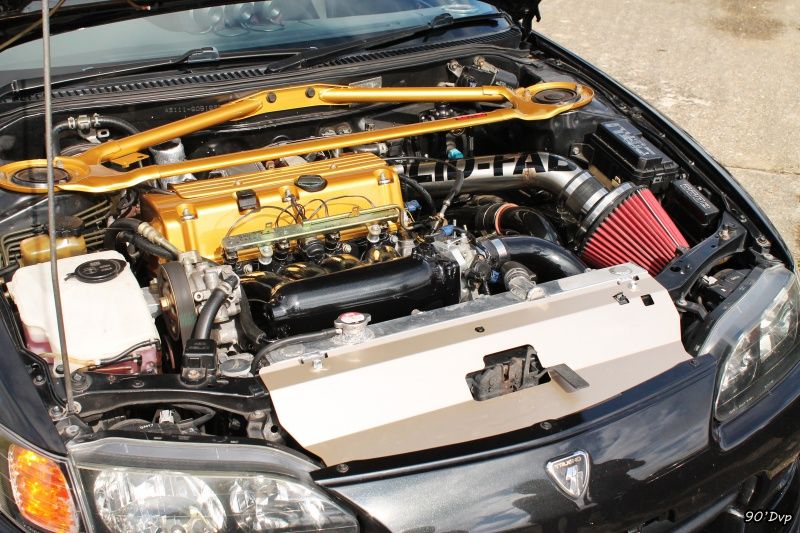
with this swap, I didn’t wanna just shoehorn the k20 in and leave it as that.
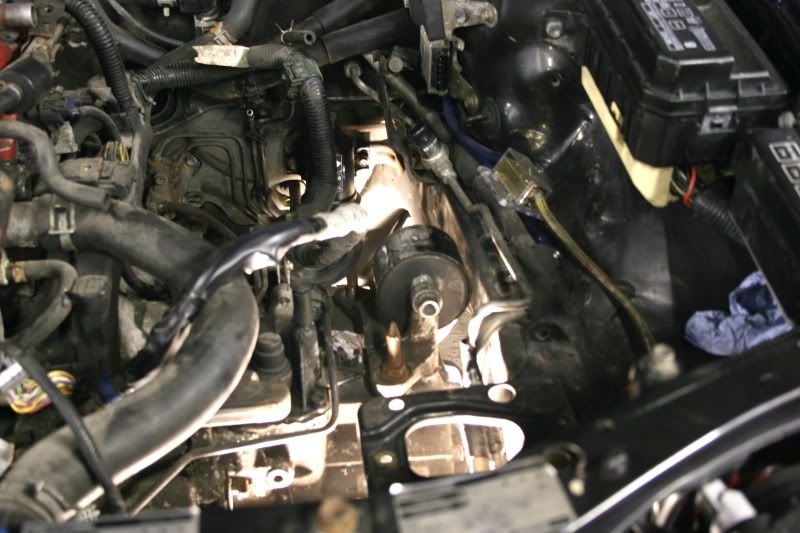
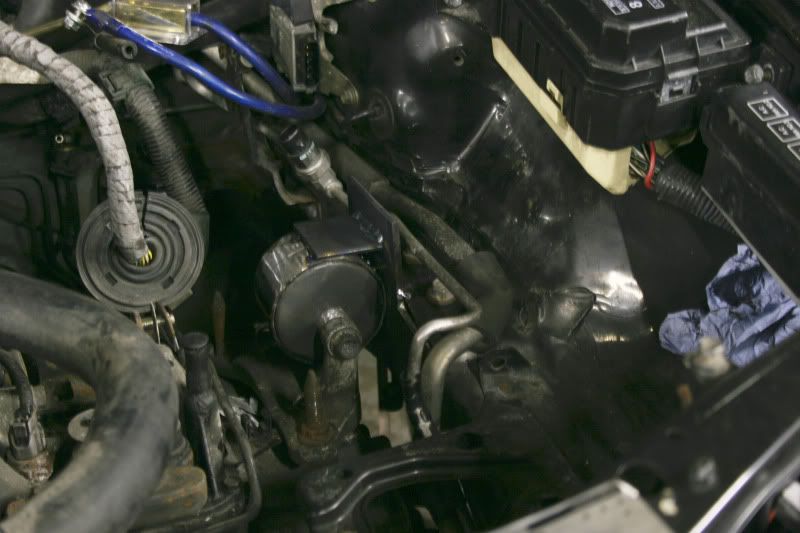
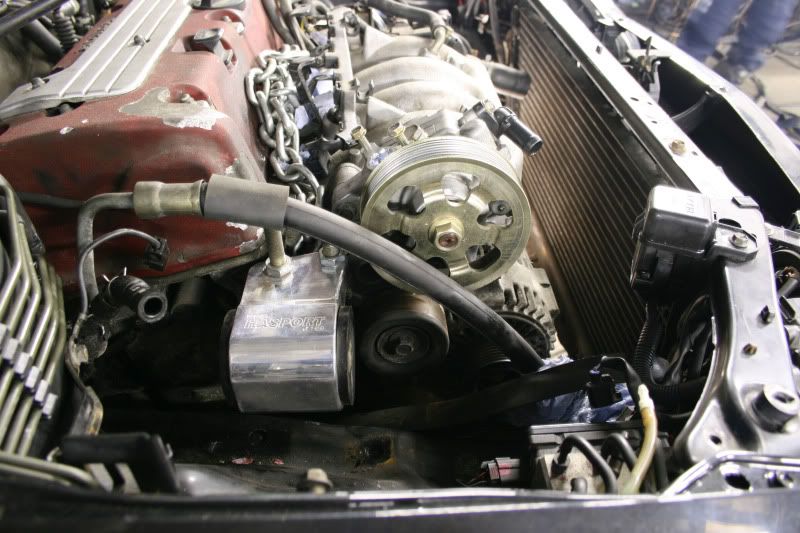
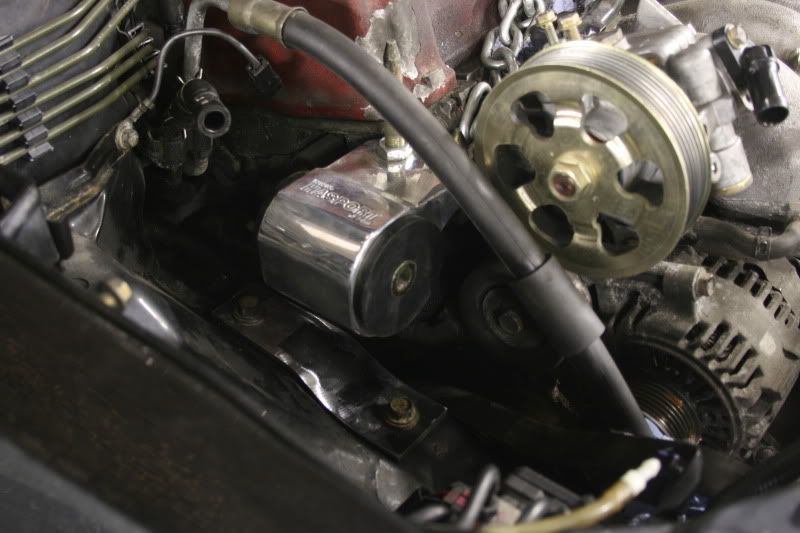
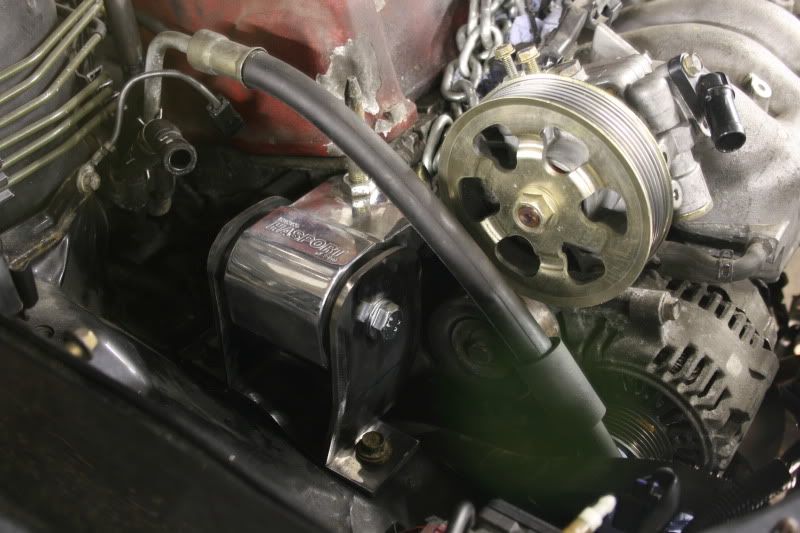
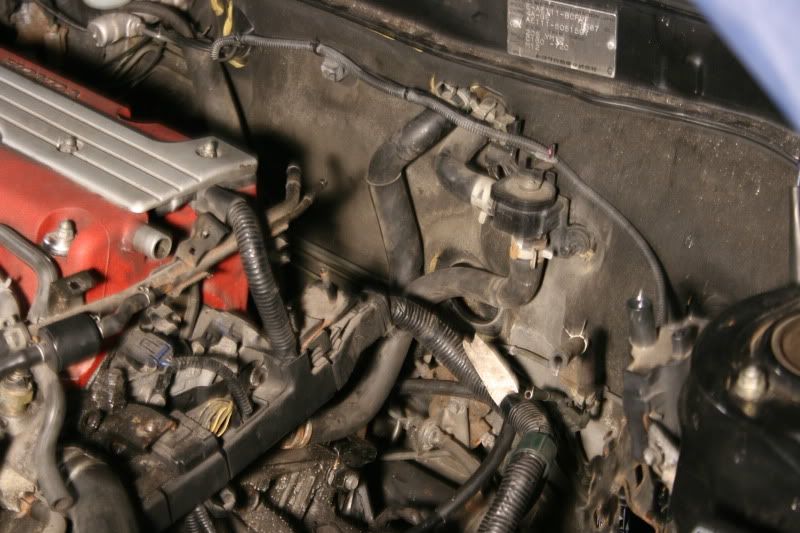
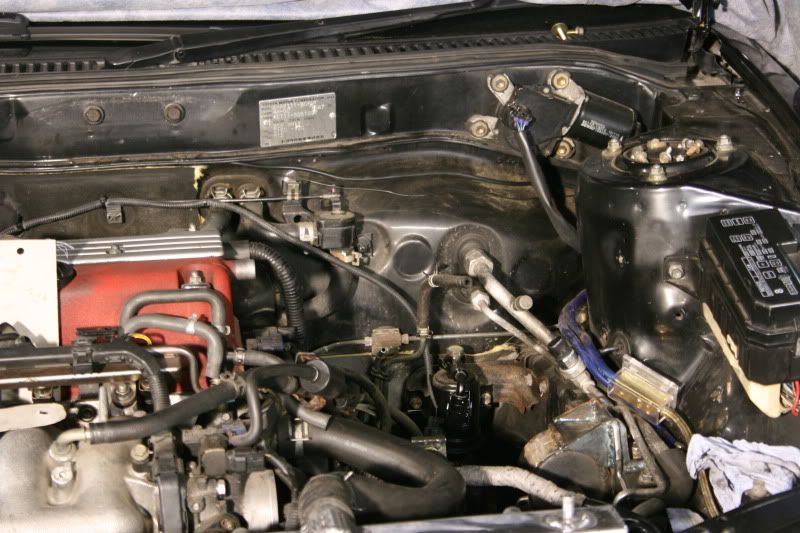
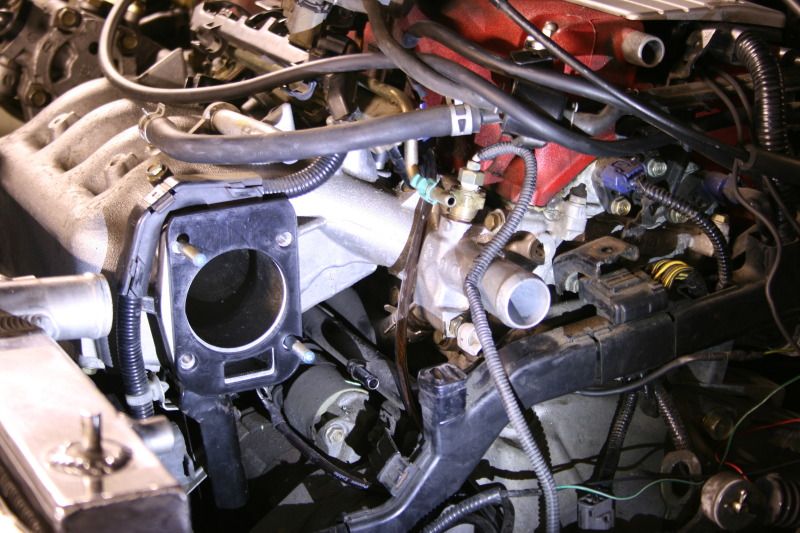
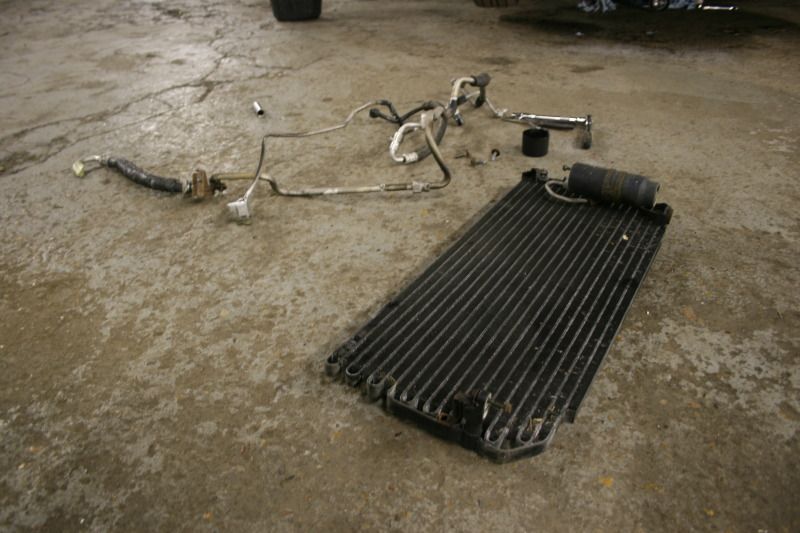
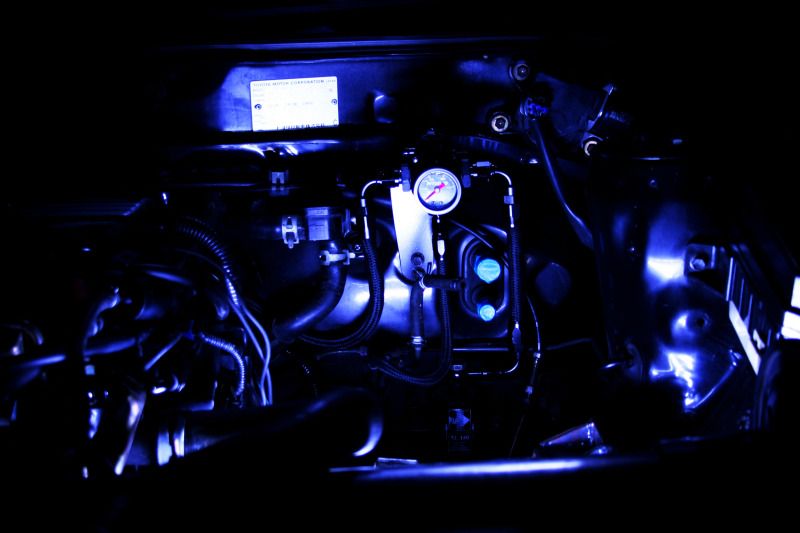
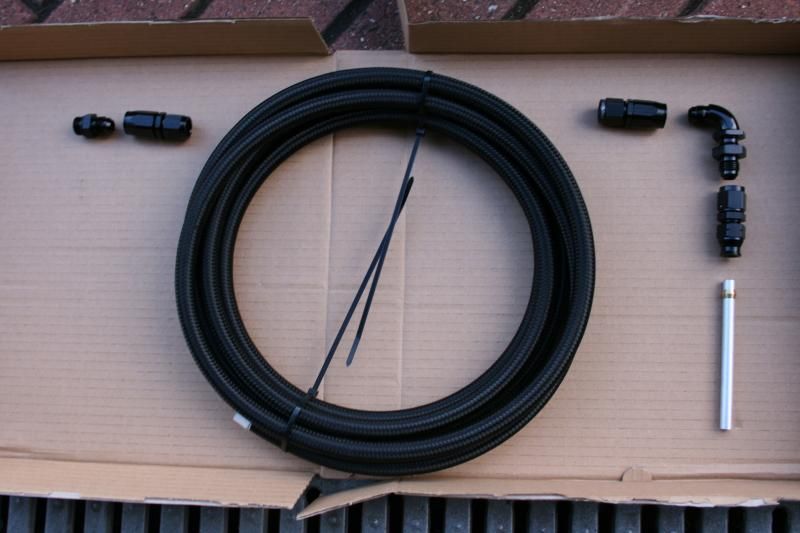
The 1 thing I like about the ae111 is the fact that it is a competent street car which has a lot of creature comforts which make it a pleasure to drive. 2 of them being a/c and p/s. I wasn’t going to lose these just for more power. So in order to keep them, I would need to replumb the a/c lines, and also get a dc5 p/s pump.
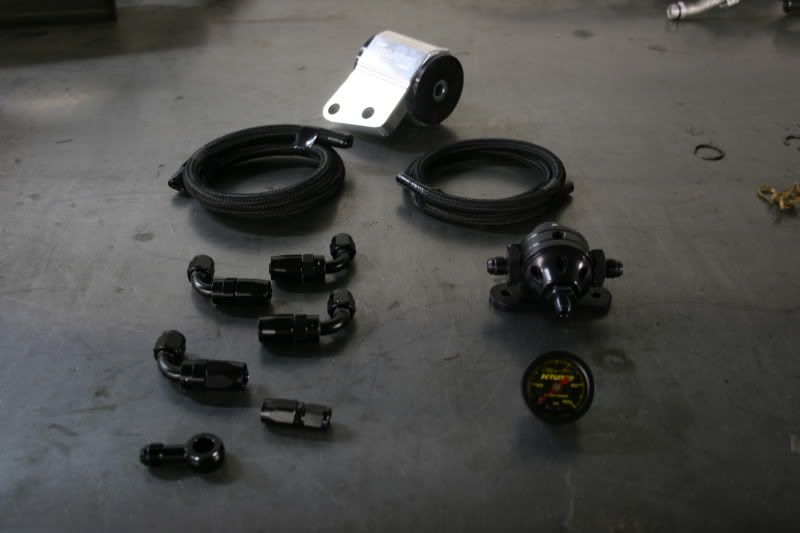
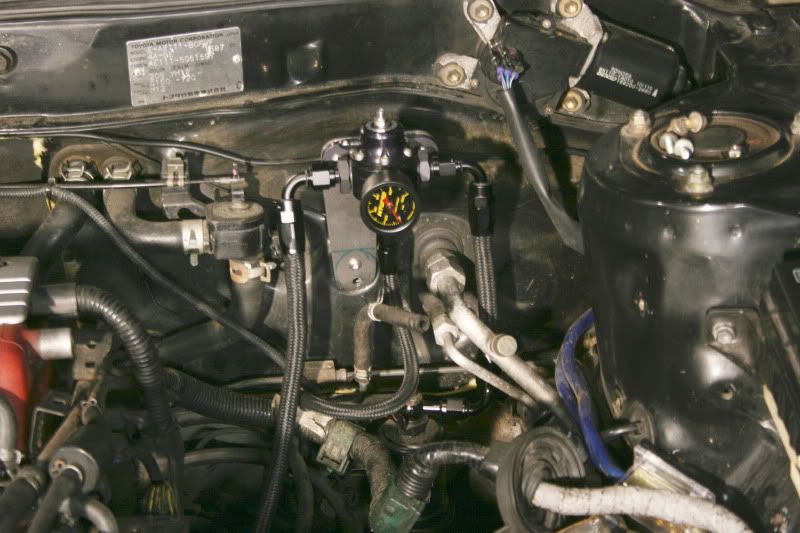
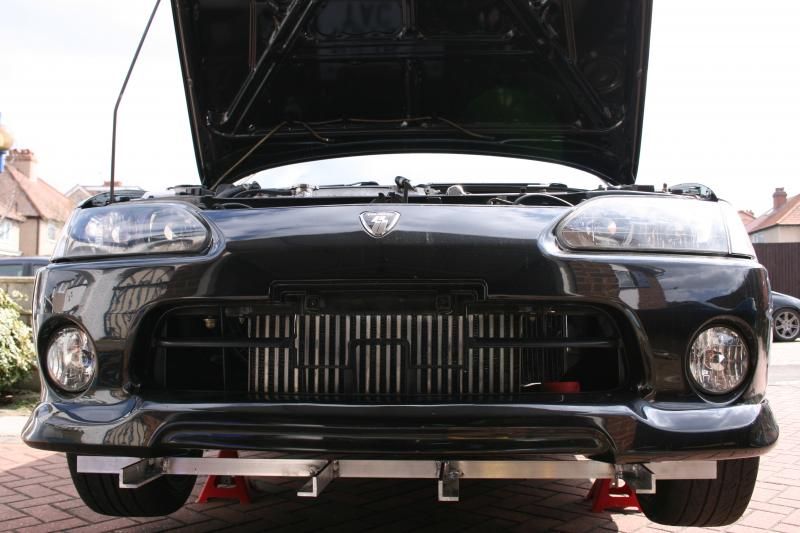
Here’s one a made earlier.
what worried me at first was the sheer size of the p/s pump and the bonnet line. Once installed, and I shut the bonnet carefully. It turns out there is about 10mm of clearance between the two. Happy days.
With that all done, it was time to start getting the engine mounted.
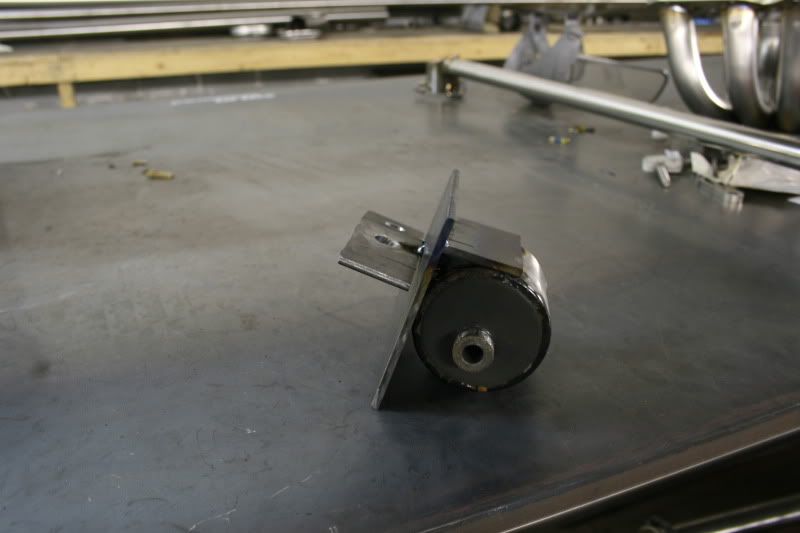
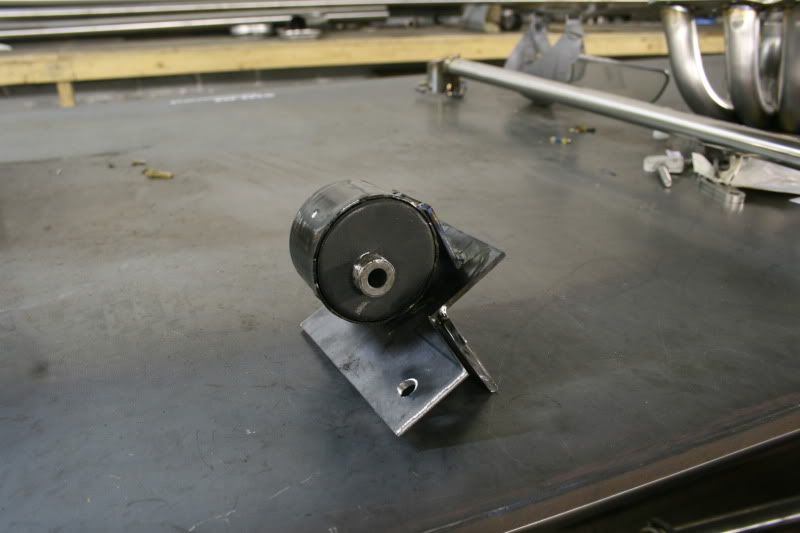
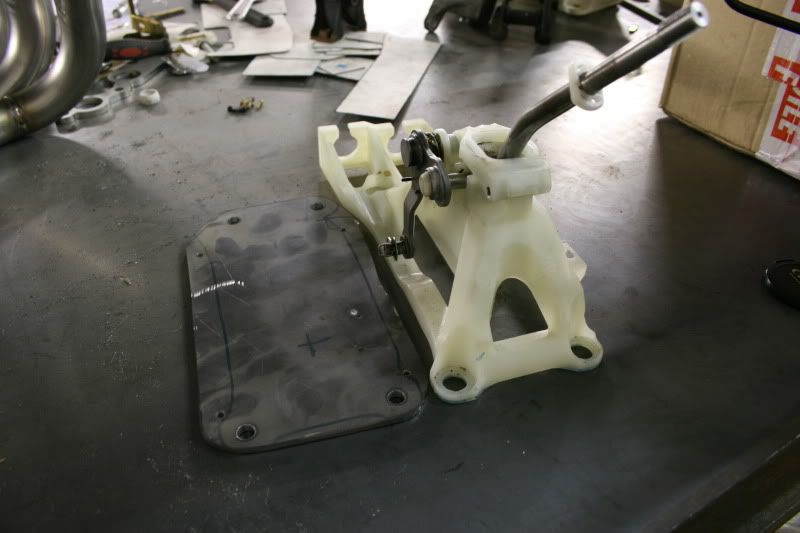
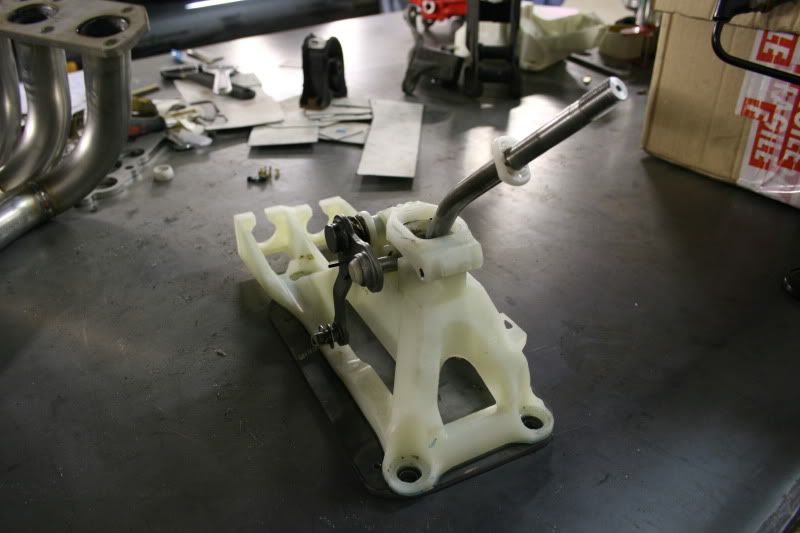
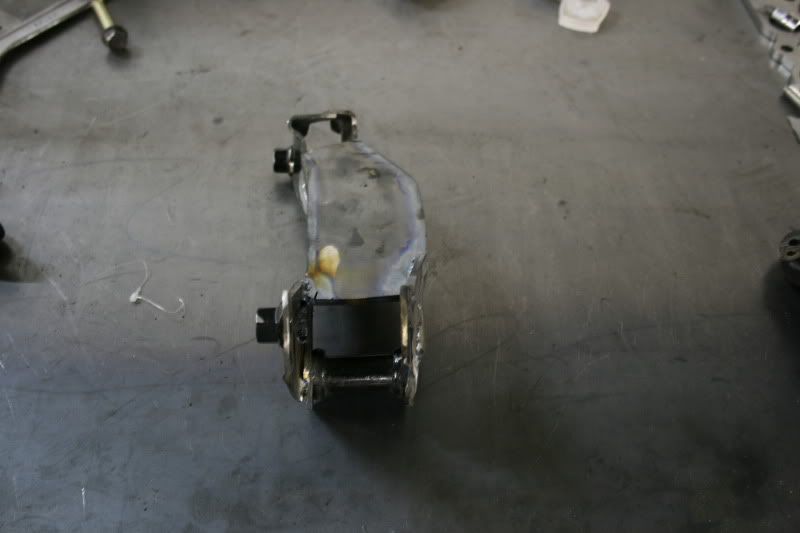
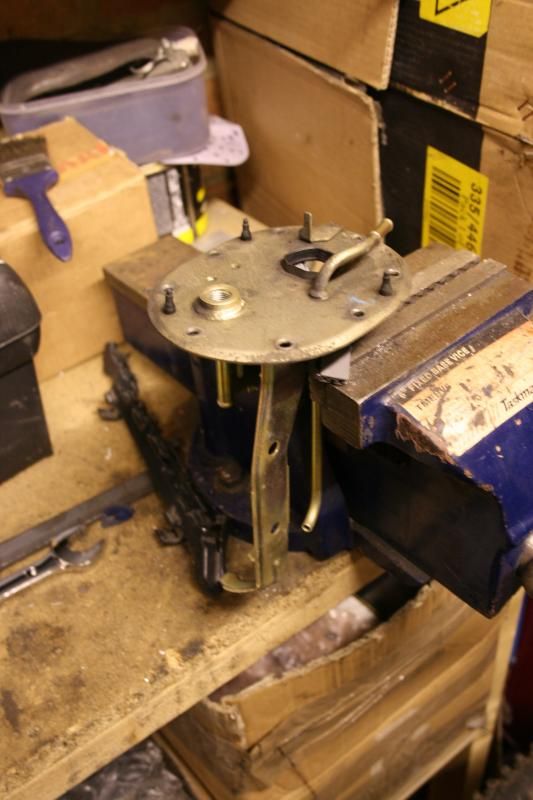
First i’d start with the gearbox mount. So I butchered up an oem polyfilled mount, and I was left with just the centre section.
slowly, adding 5mm steel sheet into specific places, we were able to create a mount which bolted upto the original bolt holes.
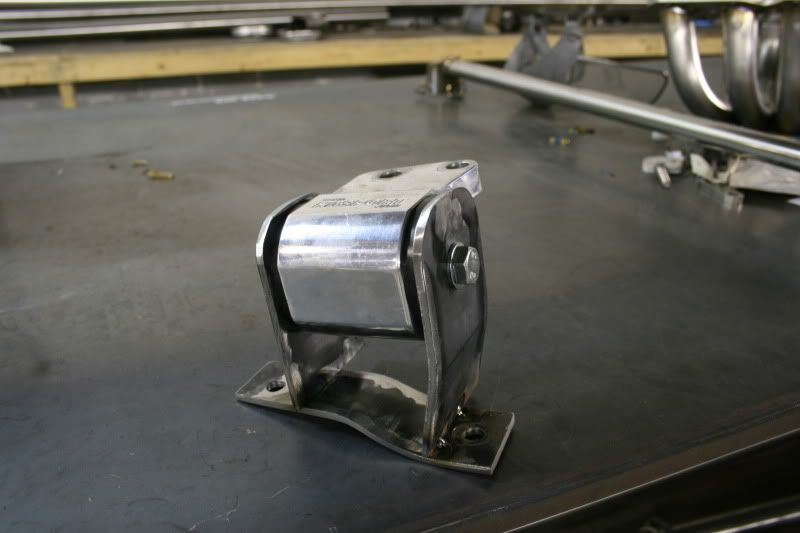
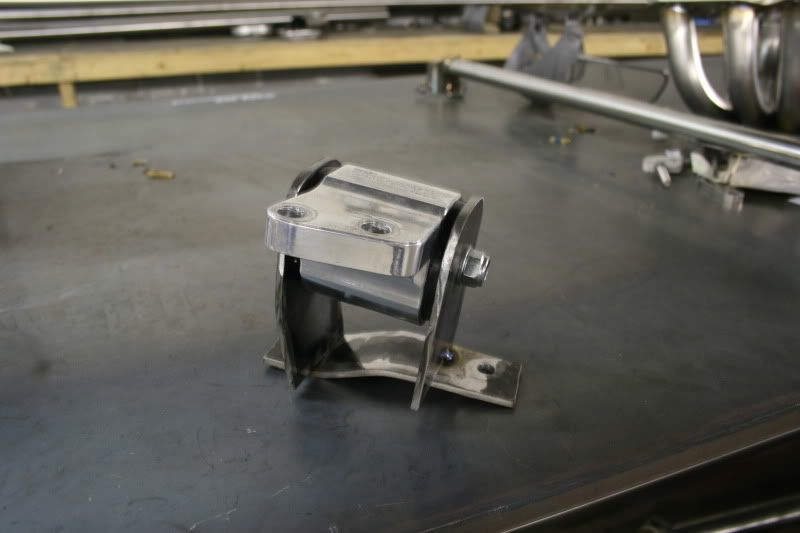
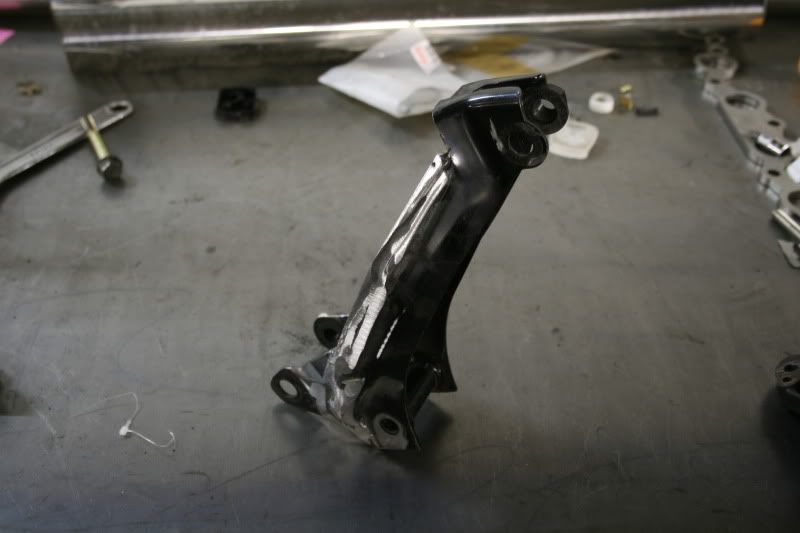
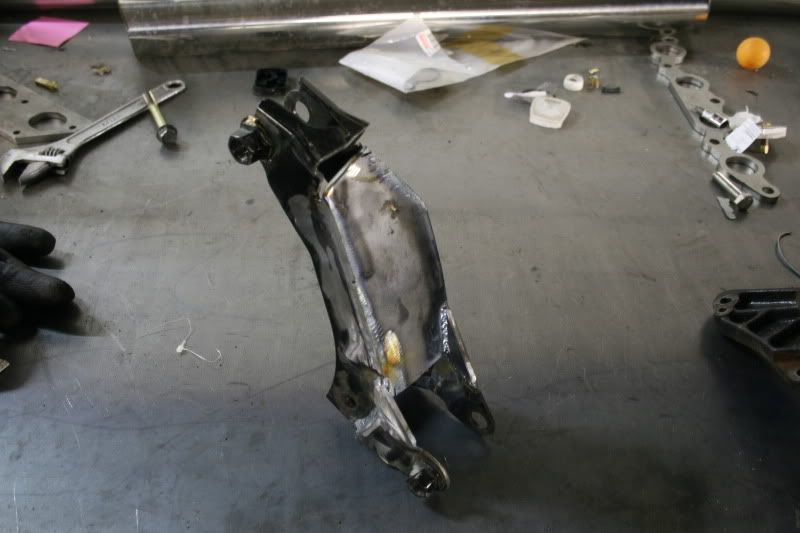
Now for the drivers’ side mount. I decided to use a Hasport k swap mount as it made doing this side a lot easier.
again, this mount bracket would be bolt in. so I didn’t have to weld anything onto the chassis and I can revert it back to 4age if I decided to.
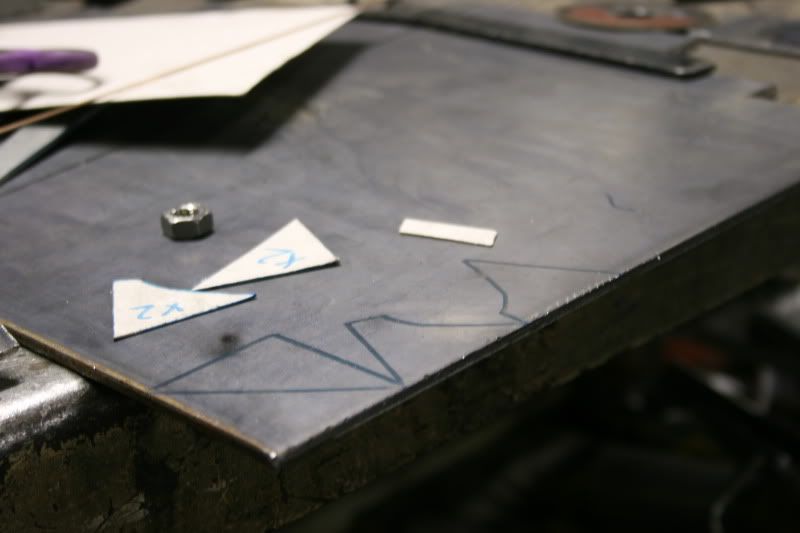
I started off with the base plate, cut, drilled, bent and bolted down.
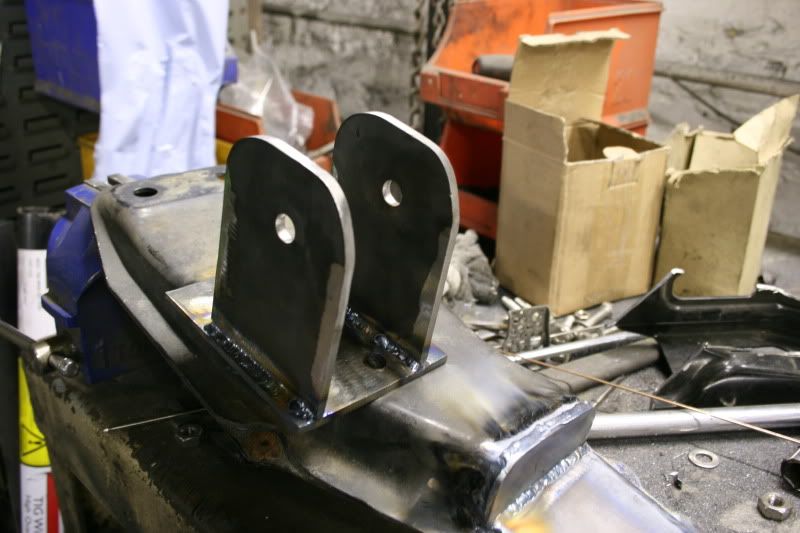
next was the uprights
then it was time to box it up
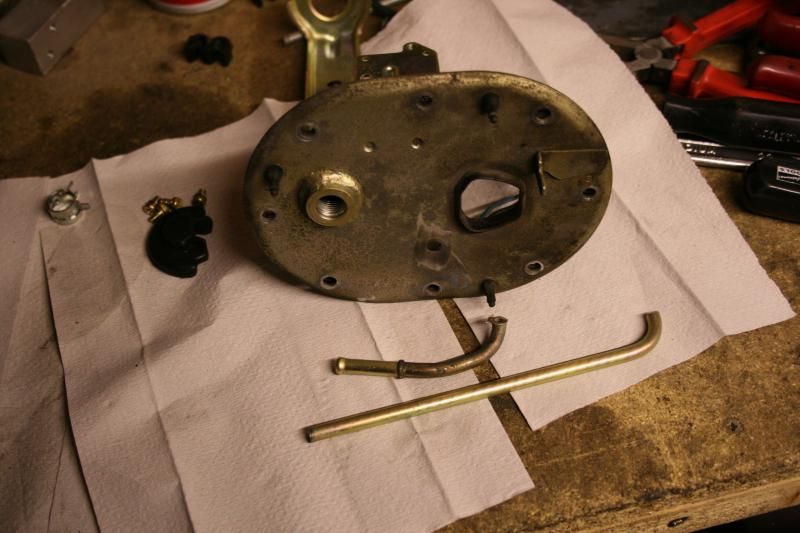
here’s some pics of the mounts out of the car prior to being finished.
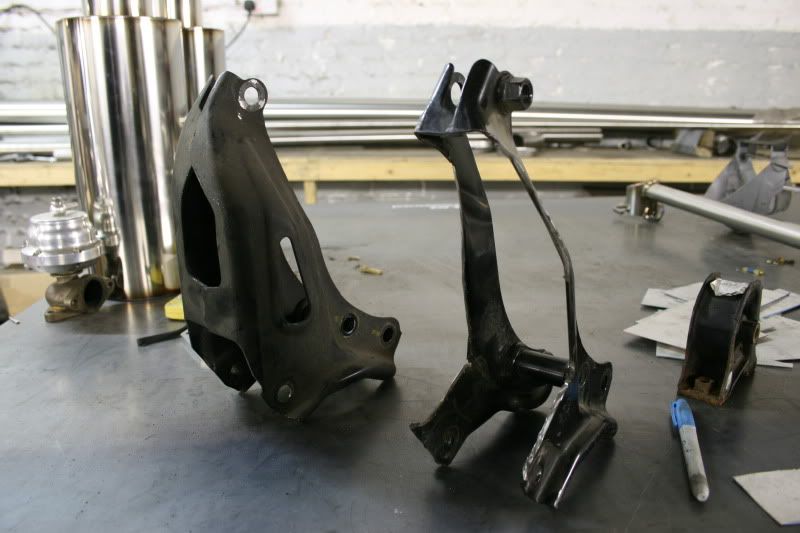
pics of the gearbox side mount
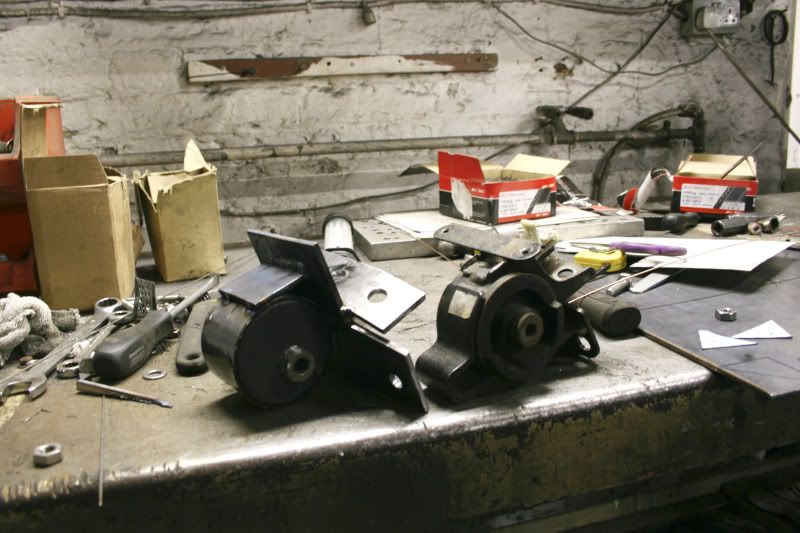
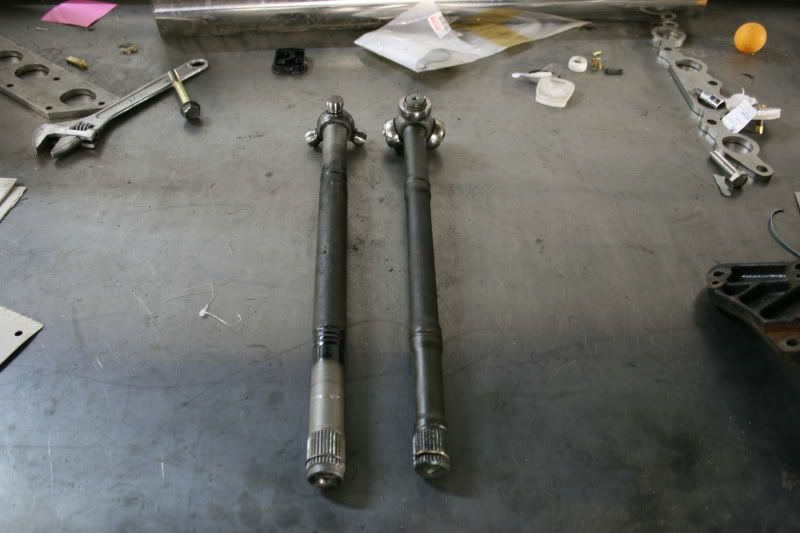
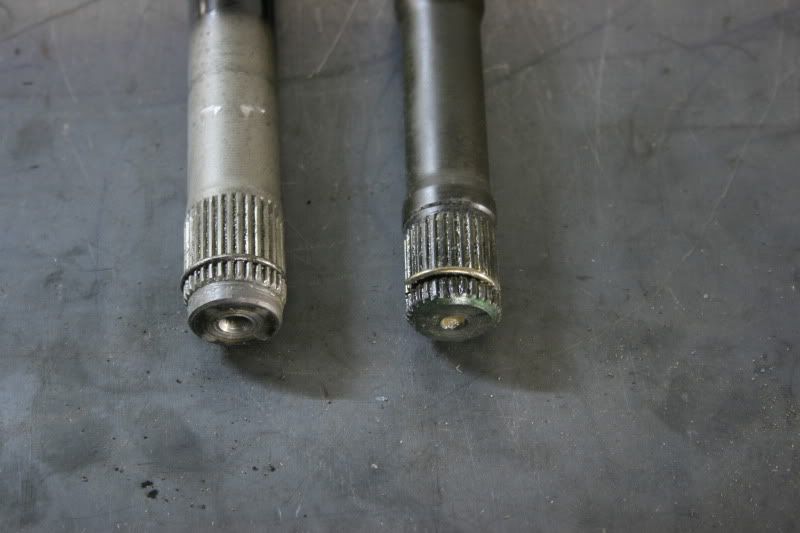
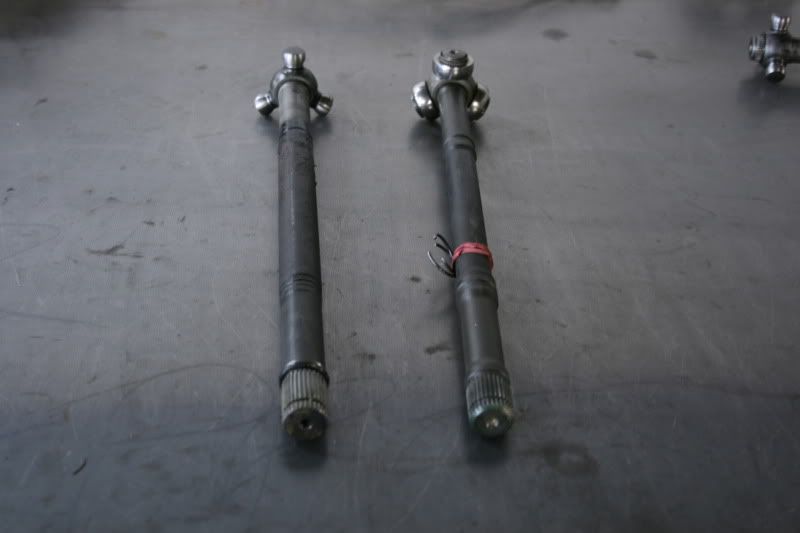
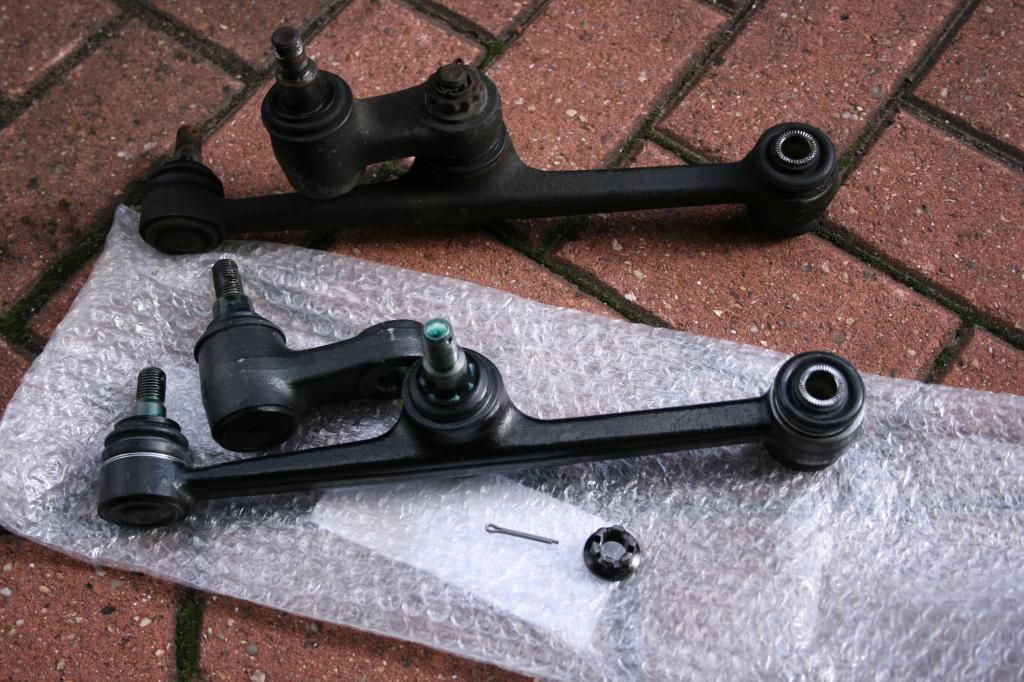
original vs new mount
pics of the gussets being made for the passenger mount
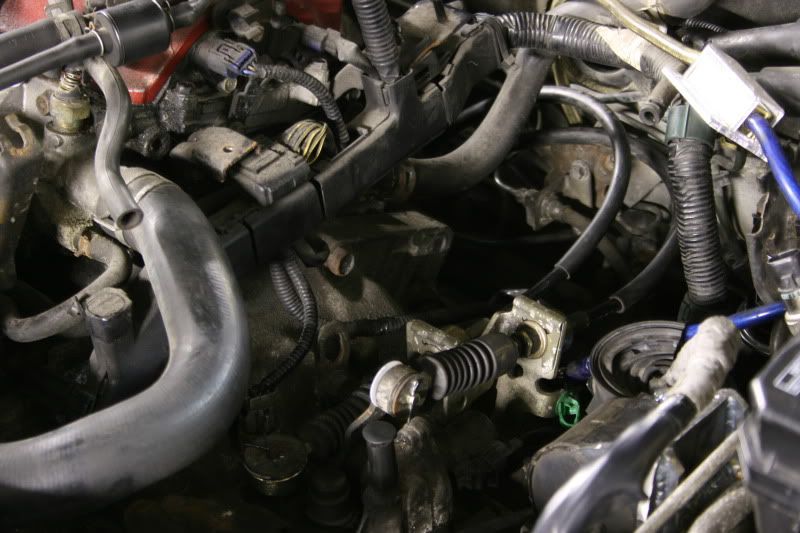
with the engine now supported, it was time for the front and rear tq mounts.
I decided to use the oem Honda mounts with polyfill, as they were bigger and stronger than the 4age mounts.
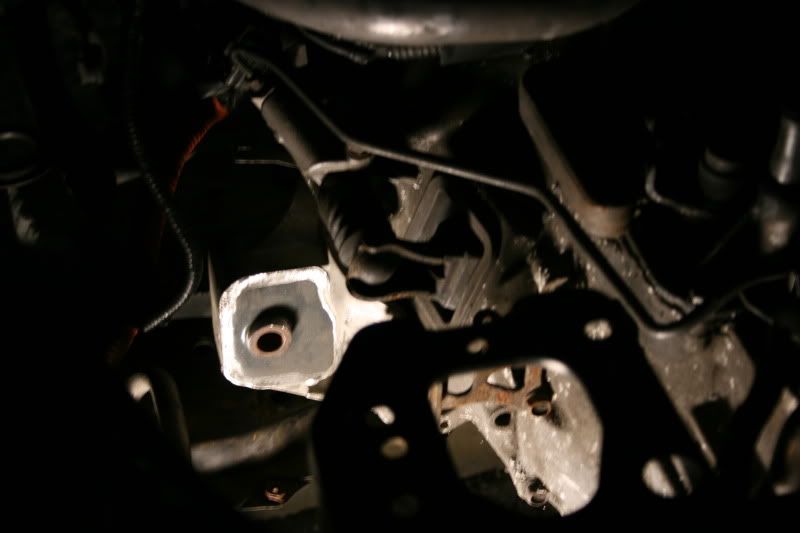
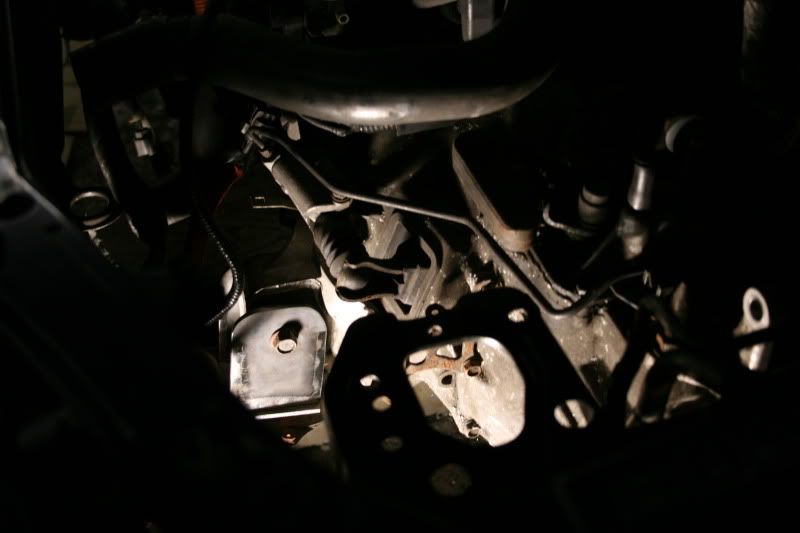
Front tq mount fitted
bracket being bolted up to make sure it fits
all welded up
time for the rear mount. It isn’t complete yet, but here’s the rear bracket going on a diet so it will fit.
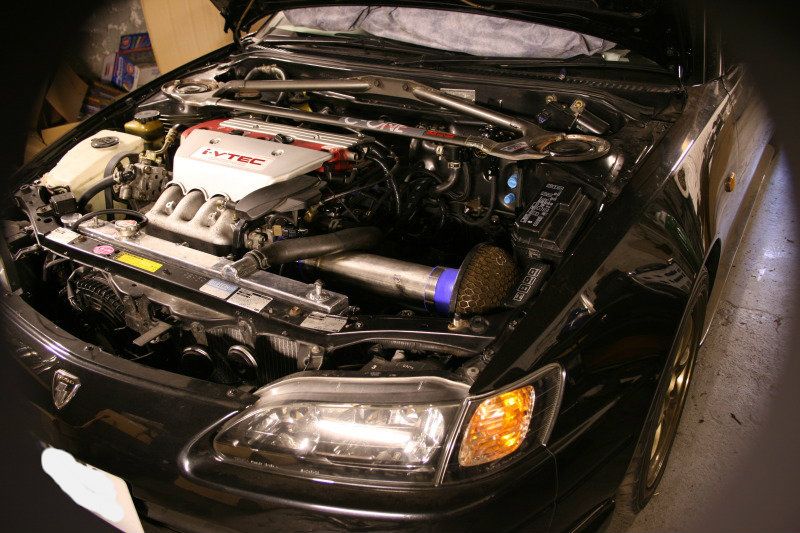
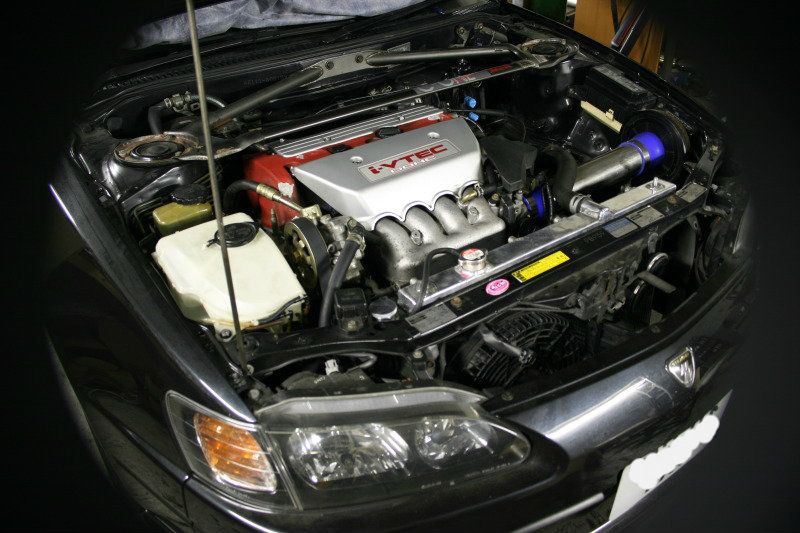
how the engine site with just the 2 main mounts in


 Alıntı
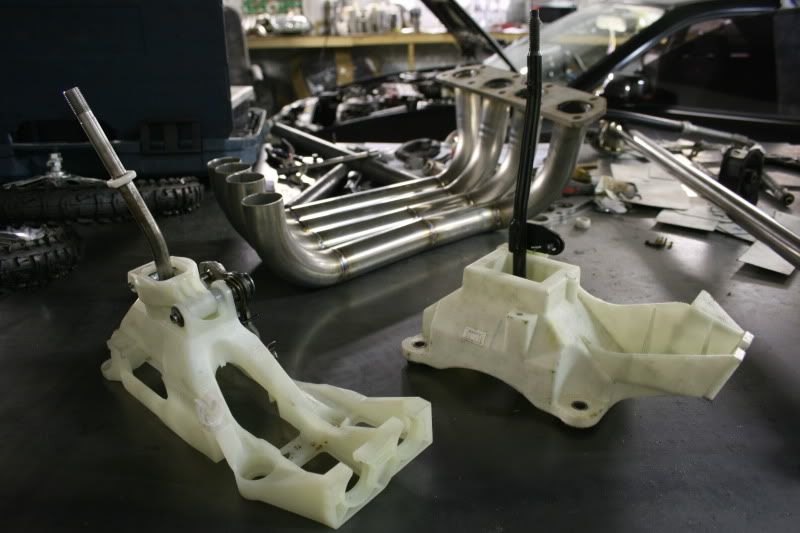


")


")
")


")

")


")
")

